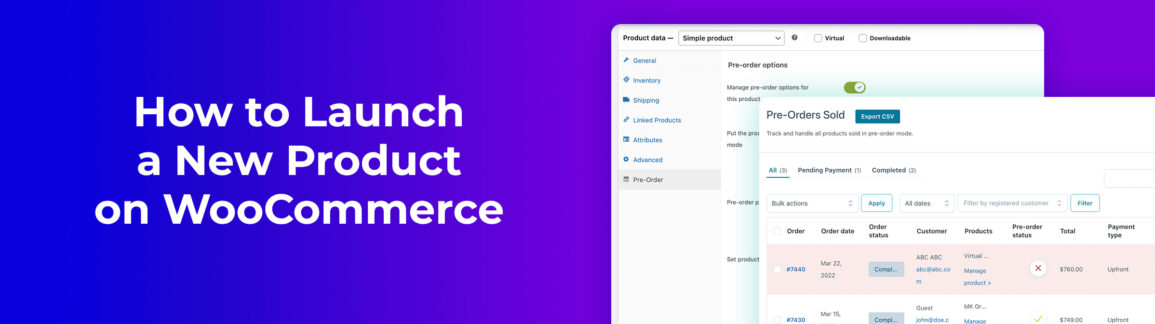
Listing a product on WooCommerce is really easy. Actually, it’s so simple that many sellers miss how important this step is. They put a product in their catalog without making the most of its potential.
In this article, we’ll talk about how to turn your product lunch into a memorable event. An opportunity to get new customers, boost sales, and make your brand stronger.
This step-by-step guide is broken down by phases to help you successfully launch a product on your WooCommerce store. It’s all about creating excitement and taking advantage of pre-orders.
We’ve got a lot to cover, so let’s start with the first phase.
Table of contents
- Phase 1: Preparation (Pre-Launch) - Building the Foundations for Success
- Phase 2: Create Hype and Anticipation - The Countdown to Launch
- Phase 3: Harness the Power of Pre-Orders with YITH WooCommerce Pre-Order
- Phase 4: Launch Day - Maximizing Impact and Sales
- Step 5: Post-Launch – Maintain Momentum and Analyze Data
- Summary Checklist for Launching Your Product on WooCommerce
Phase 1: Preparation (Pre-Launch) – Building the Foundations for Success
Before you even think about launching, you’ve got to consider all the steps to take before that. Selling a product means knowing your product and your audience.
So, our advice is to do a preliminary analysis and define your objectives. This step includes:
- Market research and idea validation – We know it might be tough to hear, but not all products and services can be sold, and not all of them can be sold online. So, it’s crucial to really understand the market you’re launching your product into. That’ll help you make sure your idea is actually viable.
- Define the target audience for the new product – As you know, every product has a target market. Some products are more universal than others, but it’s good to have a clear idea of the type of person who will buy that specific item. If you know their interests, gender, age, and other important details, you can choose the best way to communicate with them and promote your message.
- Set clear and measurable launch goals – Excellent goals are SMART goals, and they can help you boost sales, gain new subscribers, grow engagement, and more.
Once you’re done with the first steps, you can start getting the product page ready.
Before creating the product
While it’s not time to create the new product page yet, it’s good to start planning ahead what you’ll need when the time comes. Here are a few things to keep in mind:
- Write a comprehensive and persuasive product description – One of the most underrated factors in creating a product page is the description. WooCommerce has two options for your product. These are key for showing off your product and highlighting its strengths. They’re also great for improving your search results, allowing you to reach more people with your eCommerce site.Make sure it’s thorough and includes everything your customers are looking for. If you sell food and wine, for example, the origin of the food, its suitability for certain diets, and its organic nature are increasingly important to customers around the world.
- Use high-quality photos and videos – The first thing potential buyers see when they look at the product is the featured image. Additional images and videos in the carousel follow closely behind. Avoid using generic stock photos, but don’t use low-quality and poor-lit snapshots images that look unprofessional, either. Appearances matter, so don’t cut corners on this.
- Set the price – If you’ve got sales experience, you know how crucial the product price is. But don’t forget to factor in the base price, the promotional discount price at launch, your profit margin, and more.
- Create a draft – Don’t rush to publish your product. You can start writing the page, but save it as a draft until the time is right to launch it.
Phase 2: Create Hype and Anticipation – The Countdown to Launch
Why wait? To build anticipation. There’s a reason why every iPhone model is announced long before it goes on sale, creating a sense of excitement even before it’s released.
When it goes on sale, you’ll be eager and ready for it, and you’ll have been waiting a long time for it.
Even so, you still need to create a landing page to let your customers know about the launch. It’ll be a place where you can bring together everyone who’s interested in the product. When you’re creating the landing page, keep these factors in mind:
- Choose an eye-catching title – This is one of the first things your potential customer will notice. Don’t get too caught up in the self-congratulatory, but also don’t make the product seem obvious to your buyer.
- Teaser images – Show the product in action and create a teaser video that highlights its most amazing features. Once more, we’re talking about top-notch images.
- Add a countdown – How can you build up the anticipation? Make the wait even more intense by counting down every second. Be sure to include the launch date and time so your customers don’t have to do any math, which could lead to frustration.
- Add a form – Create a waiting list and promise to notify subscribers when the product is launched. This is essential to avoid losing customers during the time between their sign-up and the launch, as well as to implement additional email marketing strategies.
Building your waiting list – Your most engaged audience
The key to a product’s success is to get your audience more and more involved. Let them choose and reward them for their choices. This way, you can take full advantage of the Principle of Commitment and Consistency.
Start by promising rewards like early access, exclusive early bird discounts, special content, and more in exchange for signing up via a form.
Then, once you have the registration, you can send a series of “nurturing” emails to keep their attention high while they’re on the waiting list. In these emails, share behind-the-scenes info, talk about the product benefits, and count down to the product launch.
Teaser campaigns on social media
I know it seems a bit ridiculous to focus on this, given the impact that social media is having on our lives, but many sellers still forget to create teaser campaigns on social media and promote their products to users on Facebook, Instagram, Tiktok, Youtube, and Twitch (and any other social media platforms that are important in your area and for your target audience which is why we emphasized the importance of knowing your customers).
How do you create teasers? Show some details and glimpses of the product without completely lifting the curtain, create polls to engage your existing customers on features of the product that you control, and use video formats such as reels and stories to show the “behind the scenes” of the product’s creation.
Engage influencers and content creators
Every industry has its own “rock stars,” so offering early access to creators who cover topics or products related to your niche in exchange for reviews or unboxing videos published on launch day can be a great idea.
Note: Don’t target huge creators just because of their large audience. In terms of investment, it may be better to approach creators with a smaller, more niche audience who are more focused on your target demographic.
Phase 3: Harness the Power of Pre-Orders with YITH WooCommerce Pre-Order
There’s a step in between creating the product page and launching it, which is called pre-ordering. To avoid losing customers during this phase and to see if there’s real interest in the product before you start mass production (so you can cover production costs), let your customers pre-purchase the product.
Pre-orders should have a clear time limit, offer exclusive benefits compared to traditional purchases, and allow you to generate immediate cash flow.
If you’ve got an online store set up with WooCommerce, you can add this feature in a couple of clicks using the YITH WooCommerce Pre-Order plugin.
How to set up an effective Pre-Order campaign with YITH
The plugin is super easy to use. Once you install and activate it, you’ll see a new item on the product creation page with all the options related to pre-orders.
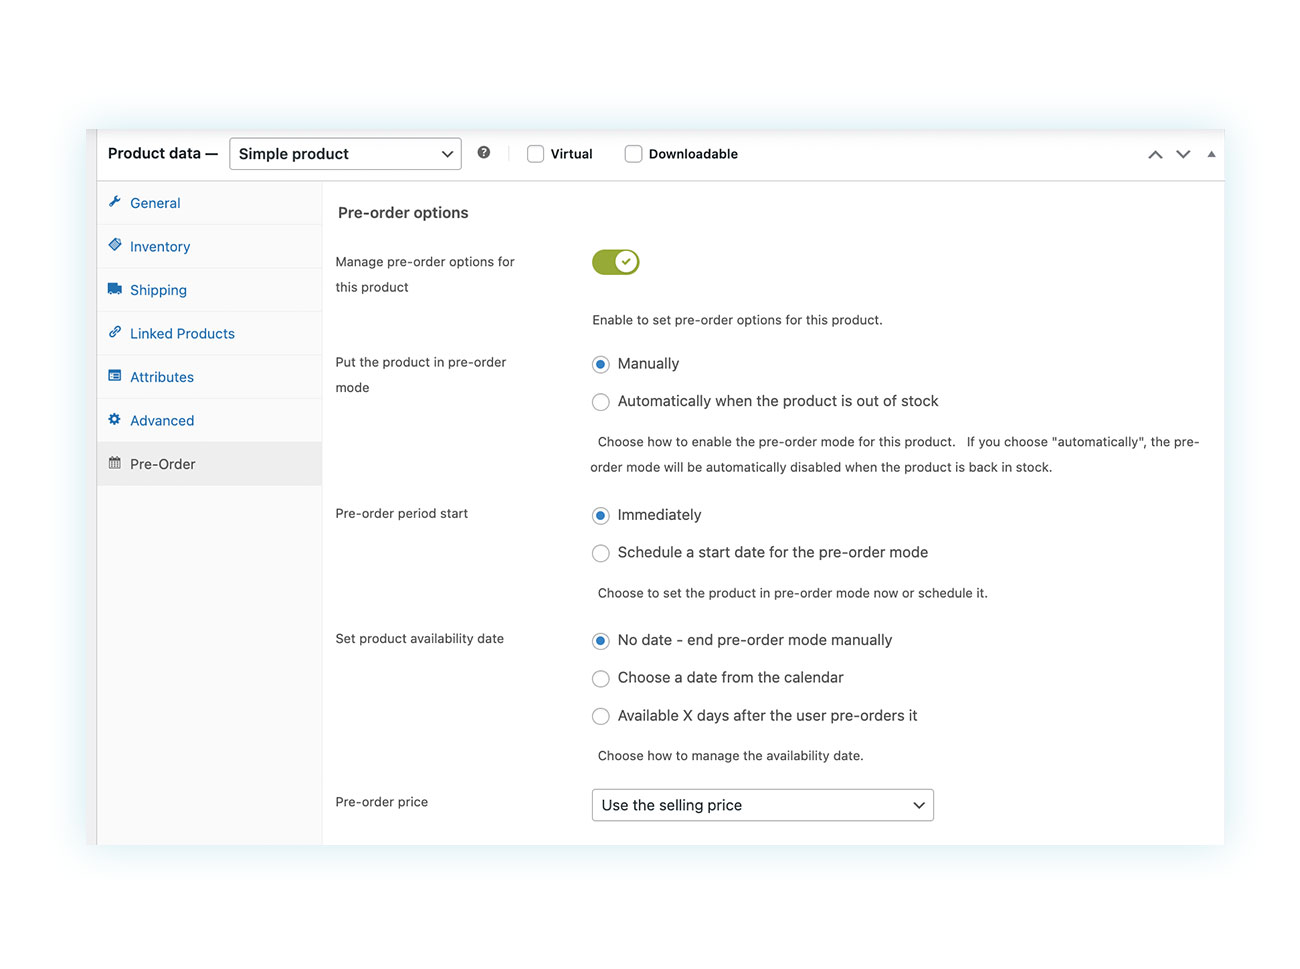
As you can see, you are free to set up your settings however you like. With Pre-Order, you can decide when to charge the customer for their purchase, which is different from creating a classic product. You can charge right away when you buy something or when the product is released. This way, you won’t make the buyer anxious, but you’ll still be able to get the payment.
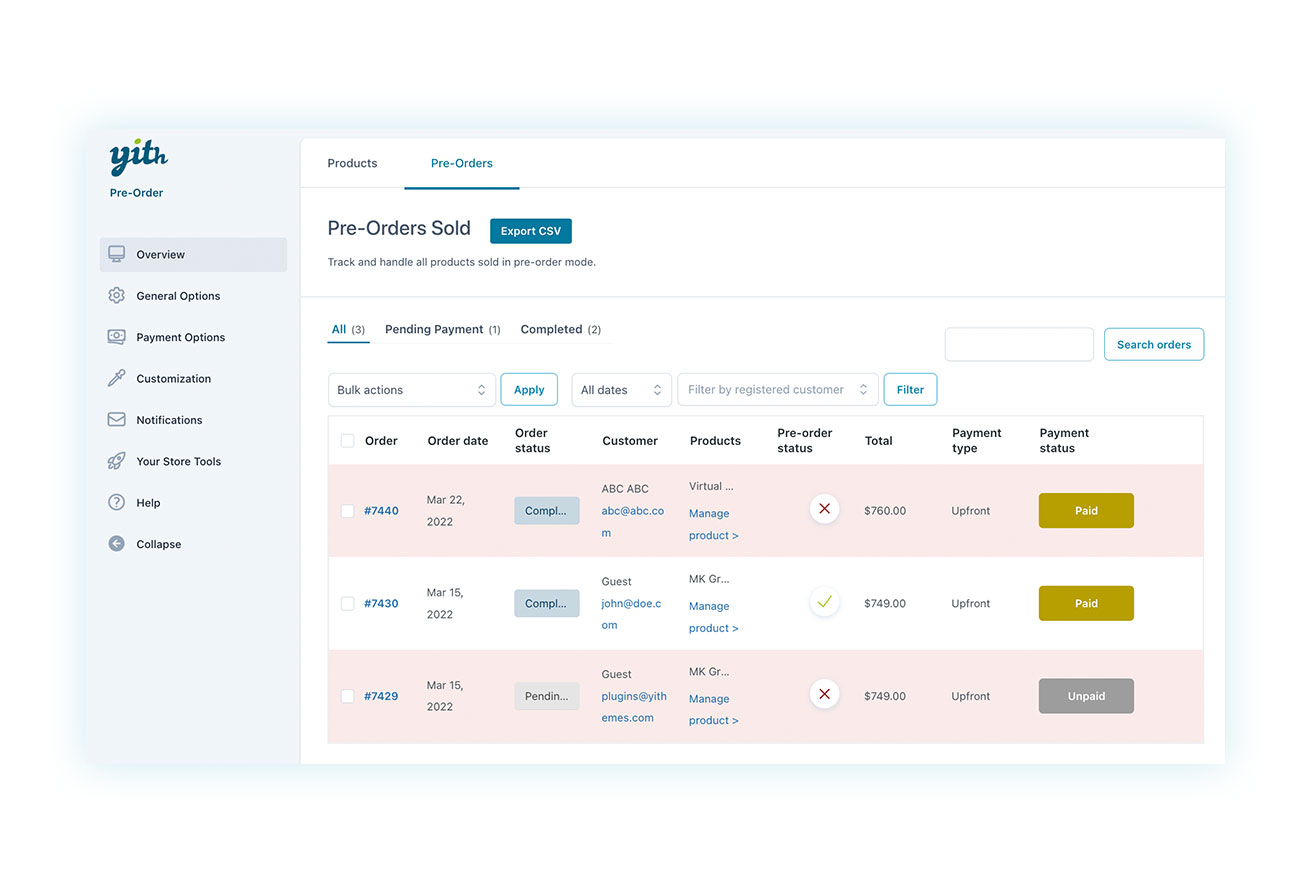
Each pre-order will be collected on its own dedicated page of the plugin:
Launch the “Early Bird” campaign
Once you’ve got the pre-order system all set up, you can go ahead and launch the “early bird” campaign. Send an email to your waiting list and give them the chance to pre-order at better conditions.
Talk about how exclusive and time-limited this phase is. That way, you can use the Principle of Scarcity to get customers excited.
Phase 4: Launch Day – Maximizing Impact and Sales
At last, it’s launch day! When the time is right, go ahead and publish the official product page and replace the “Coming Soon” landing page.
Then, let everyone know about the sale using the same channels you used for the launch:
- Send a launch email to your entire mailing list using an attention-grabbing subject line to get more people to open it.
- Publish coordinated social media posts on all channels, including links to the product.
- Give your website homepage a makeover to showcase the new product.
Now’s also a great time to start advertising campaigns (PayPerClick – PPC) on Google ADS and Social ADS to reach more people. You can also create retargeting campaigns for visitors who aren’t familiar with the newly launched product yet.
N/A: Make sure you’re ready for this moment and that your support team can handle the high website traffic and respond to questions and concerns in real time via a support chat and through private messages and comments on social media.
Step 5: Post-Launch – Maintain Momentum and Analyze Data
A successful product launch doesn’t end when the product goes on sale, contrary to popular belief.
Your goal isn’t to have a single day with sky-high sales, but to keep interest high in the days that follow. So, there are a few steps to take after the launch.
Sending a thank-you email after a purchase and inviting the customer to leave a review, is more important than you may think. Reviews are key to building trust with future customers by leveraging the principle of social proof and letting others know about your commitment to customer satisfaction.
You can also encoaurage your customers to share posts, photos, videos, and stories about the product after receiving it. This not only builds a sense of community but also gives the impression of future discounts. Keep in mind the average user tend to trust fellow customers more than the brand itself.
It’s also essential to track and analyze key metrics like sales performance, traffic sources, conversion rates, email open rates, and more. Monitoring these insights will help you evaluate how well your product launch campaign did, and spot any issues to improve for future campaigns.
Also, writing blog articles and video tutorials that show how to best use the product can help you gain authority, which will translate into future sales.
Summary Checklist for Launching Your Product on WooCommerce
Let’s go over the main steps for launching your product. If you like, you can print this section and use it as a checklist to fill out step by step:
- [ ] Pre-Launch: Conduct research and analysis of your audience. Set objectives and create a draft of the product page.
- [ ] Create Hype: Create the “Coming Soon” landing page and offer to join the waiting list. Publish teasers on social media.
- [ ] Pre-Orders: Configure the YITH Pre-Order plugin and launch an early bird campaign with pre-sale benefits.
- [ ] Launch Day: Publish the page and replace the “Coming Soon” landing page. Announce the launch via email and social media. Activate any ads on Google and social networks.
- [ ] Post-Launch: Collect reviews, analyze data, and create support content.
Conclusion
A successful launch isn’t just a stroke of luck. It’s the result of a well-thought-out product launch strategy, where every step, from preparation to the post-launch period, is crucial.
When you plan ahead, know your audience, create anticipation, and use tools like pre-orders, you’re doing more than just “putting a product online.” You’re turning that moment into an event that strengthens your brand and gets you immediate and lasting sales.
By following the steps outlined, you can create a product launch plan that leaves nothing to chance.
Want to learn more? Find out how the YITH WooCommerce Pre-Order plugin can help you structure effective pre-sale campaigns and ensure your next launch has all the winning cards.