Welcome back to our WooCommerce configuration guide!
In our previous chapter we learned how to set all of the important aspects of the checkout process, today we are going to see how to properly configure the PayPal options in detail.
To do this, we need to go to WooCommerce > Settings > Checkout > PayPal:

Whatever product you sell your store can’t do without two payments methods:
- Credit Card payment – The most used way to perform online payments worldwide.
- PayPal payment – The number one service for secure online payments
Customers often use credit cards anyway, but even just offering the chance of PayPal payment makes customers feel safer and makes them more likely to buy.
Clearly, in order to offer this payment method you need a PayPal account. In case you don’t already have one, I invite you to create it.
Let’s now see in detail how to configure this payment method:
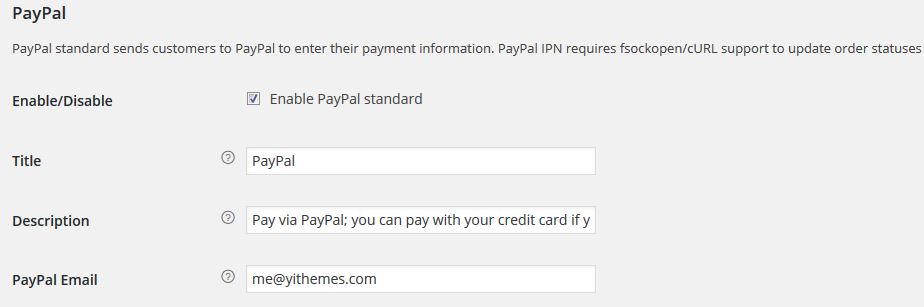
- Enable/Disable – Enable PayPal Standard Allows you to enable or disable PayPal as a possible payment method on your website.
- Title – Allows you to chose the name assigned to the payment method users are going to see during the checkout process.
- Description – Allows you to add further information about this payment method, this information is going to be displayed during the checkout process.
- PayPal Email – It’s the email associated to the PayPal account you are using to receive your payment.

- PayPal Sanbox – Enable PayPal sandbox Allows you to test PayPal as a payment method in order to check if the payment process works correctly in each one of its steps.
In order to do this, you should create two “sandbox” accounts on PayPal, and have one work as a buyer and the other one as a vendor. To create them you should access PayPal’s Developer Section and test your website.
- Debug Log – Enable logging allows you to create a report for all PayPal activity on WooCommerce (which will not contain passwords or API certificates).
This tool can be effective in case of issues or errors in order to find their origin right away.
Advanced Options
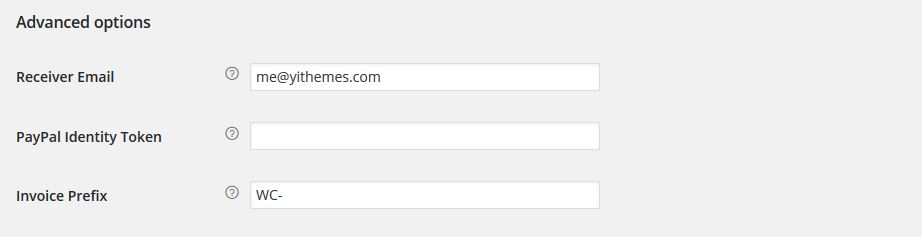
- Receiver Email – This is an optional field: if you wish to receive notifications for your payments on a different email address than the one previously stated, you can insert it here.
- PayPal Identity Token – The PayPal Identity Token allows you to verify payments with no need to use the IPN PayPal panel. This system is particularly useful, since the IPN might run into errors. To obtain your Token you should access PayPal and go to Profile > Website Payment Preferences > Payment Data Transfer.
- Invoice Prefix – Allows you yo enter a prefix for transactions coming from your WooCommerce store, so that you can track them on PayPal in a quick and easy way (This comes in handy especially if you receive many payments or in case you manage several stores).
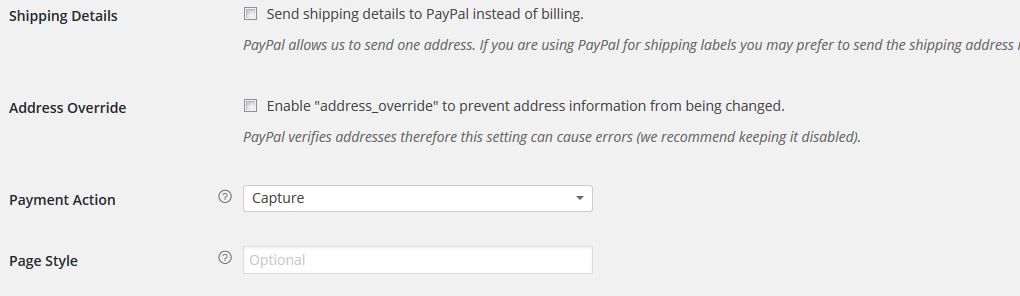
- Shipping Details – There are two kinds of addresses: the billing address, which receives reports from card transactions etc. and the shipping address, the physical address where you will receive your orders. By selecting this option, Paypal will display your shipping address each time you handle a delivery.
- Address Override – I recommend you leave this option disabled, since it might cause errors during the checkout. When enabled, Paypal will check the shipping and billing addresses in detail and in case it detects the smallest discrepancy it may stop the payment.
- Payment Action – Allows you to chose between “Capture” in which payments are accepted right away (by setting the order as “Completed”) or “Authorize” which forces you manually approve each order.
- Page Style – Allows you to customize the PayPal interface using one of the styles you find or that you can create in your PayPal account.
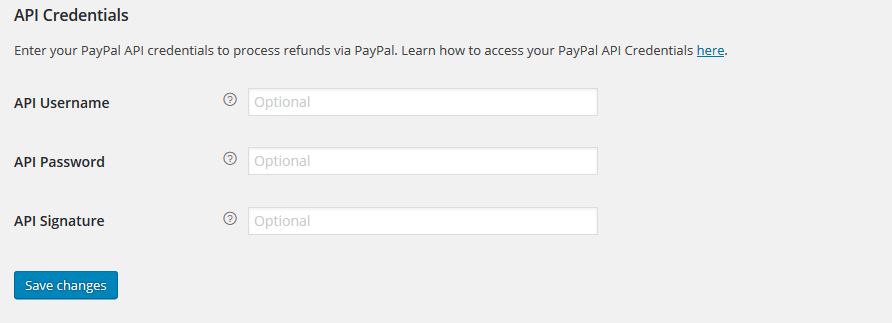
In the Api Credentials section you can insert the API keys from your PayPal account, in order to allow refunds through your PayPal account to be automatically executed from your store. You can find the API keys of your account here.
And you are set! You just configured PayPal as a payment method, see you in the next chapter for more payment systems!