Now that you’ve set up WooCommerce and created your first products, let’s dive a little deeper into categories and tags. The reason why it is a good idea to set up a few categories first is so that you can style your archive or category pages when setting up a theme.
So in this part of the WooCommerce Essential Guides, we are going to see how to create product categories and tags and how to link it to several products. You might have heard about taxonomies and for products, categories and tags are what usually is used to start with. Other taxonomies for shops and products can be brands or models. Especially for the larger store like car parts or clothing shops, you would want to divide your products in ways that make sense for the searcher.
What are product-categories?
Imagine walking through a department store, you have a floor for clothing, electronics, and furniture. Each of these main departments has smaller departments like men’s clothing and these are divided in like underwear and formal.
It’s possible to do the same in your online store, thanks to categories. This tool allows you to divide the items in your store based on categories you will create yourself. For instance, a clothing store could create categories such as “Men”, “Women” and “Children” But also “Trousers”, “Shoes” and “Shirts”… you are free to organize your products however you see fit. Like in the store departments, you can create child-categories that sit under a parent category liken women’s clothing under clothing.
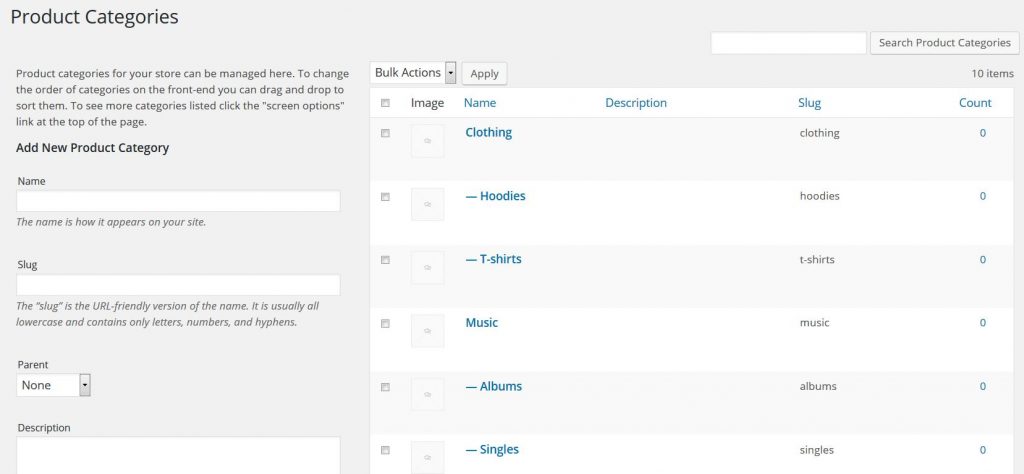
To create a category using WooCommerce go to Products > Categories and you will see a screen divided into two sections:

On the left, you will find the form used to add a new categorie, with fields like:
- Name
- Slug (how the category name is going to be displayed in the website url)
- Parent (in case you want to make this a “child category” (or subcategory) of another one. Can be used in cases such as “Shoes” and “Boots” or “Trainers”.
- Description
On the right, you will find the existing categories, and you have the chance to see the name, description, slug, and subcategory level for each one of them.
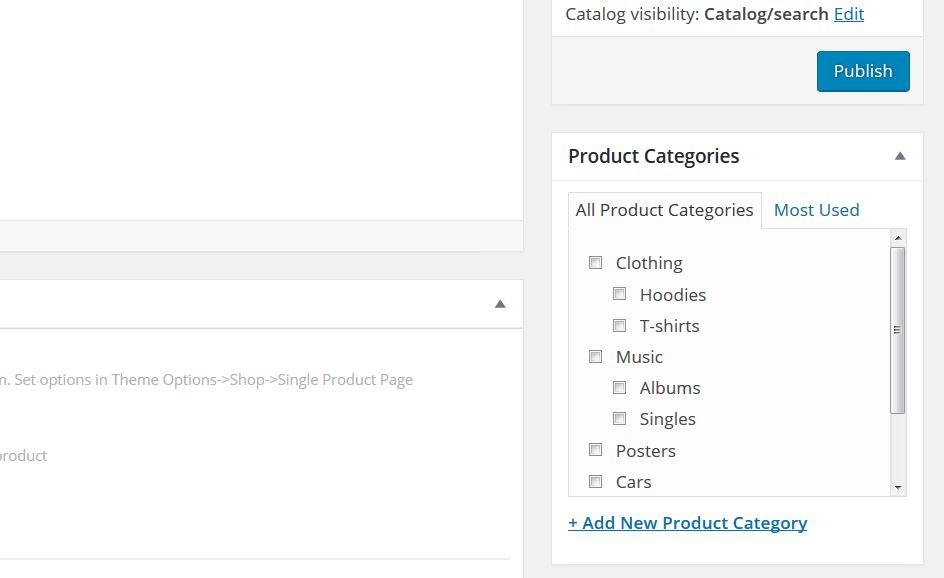
Now, while creating a product (Product -> Add Product) or editing a pre-existing one, you will find the Product Category section for your store at the bottom right of the page, here you can set up/edit the product category or create a new one simply by clicking on “Add New Product Category”:

Categories are very important in order to classify a big database of products and section them. Unless you add a product to two different categories, which can become very confusing, your product will only appear in one archive page. This is very useful when it comes to the recommended products to keep them relevant.
Tags have a similar role to categories and also allow for cross-category grouping. They are often used to label items according to their features, so they are another way to link products together without having to create hundreds of categories for each feature. The best way is to use an example.
For children’s clothing, you have trousers, T-shirts, and socks to group them by the color you can use tags. So if you select a blue tag, you might find blue trousers, blue T-shirts and blue socks in the archive page. When you have 1000’s of products in your store, you are only too grateful for this feature.
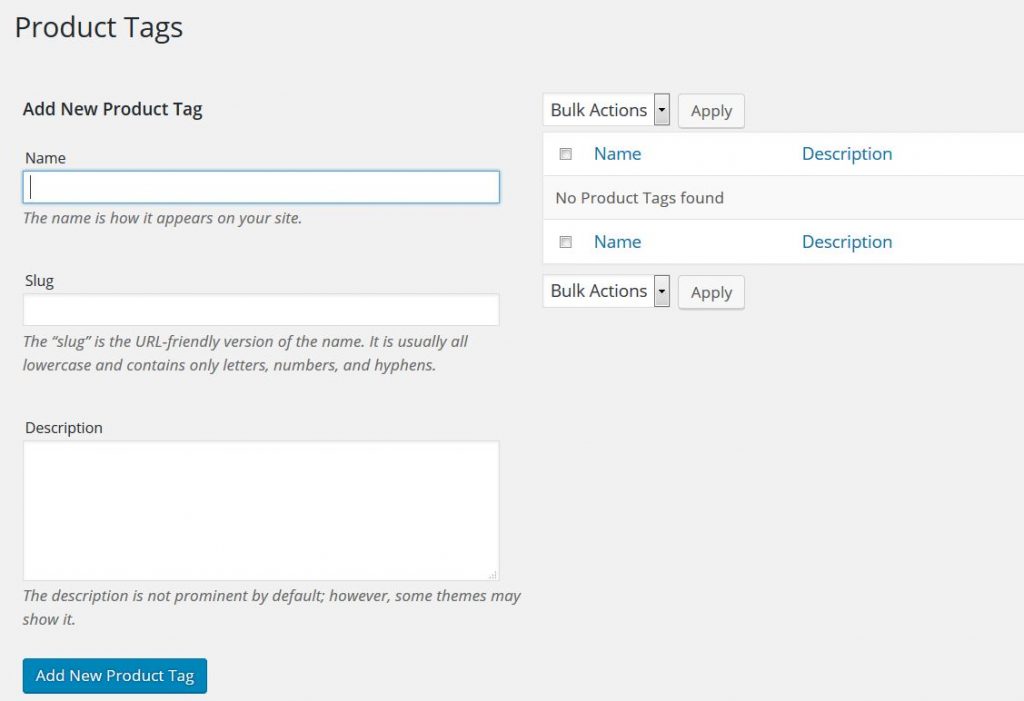
The process of creating a tag is similar to the one for creating categories. You simply need to go to Products > Tag and add a new one:

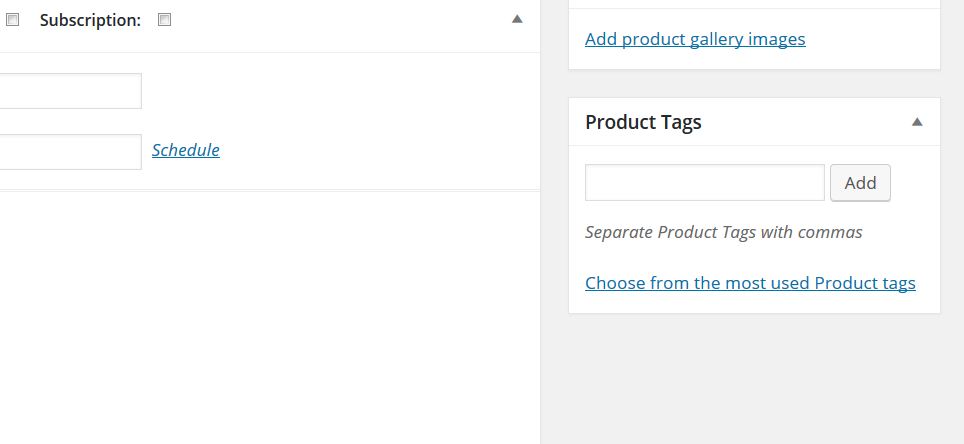
Once again you can select or create a tag in the product page as well, a little lower than in the categories section:

One bit of advice would be to use them selectively. Nothing worse than clicking a tag-link with only one product appearing time after time… The tags are also case-sensitive, so agree to a style of capitalization or all lower-case.
In the next part, we will be showing you how to install a theme.


