The YITH Booking and Appointment for WooCommerce plugin is one of the most popular in the YITH catalog, as it meets the needs of all professionals in the booking side, including travel agencies, tour operators, hotels, rental agencies and more.
The plugin allows you to turn a standard WooCommerce product into a bookable service. This gives customers the option to select the time frame, number of participants, and take advantage of any promotions available.
Managing a booking service can be challenging for sellers, particularly if they offer multiple products. Additionally, they may need to manage bookings outside of their portal, such as through third-party services like Booking and Airbnb or through phone or in-person orders.
For this reason, having a single tool to manage appointments and reservations is ideal, and Google Calendar is the best choice. In fact, the YITH Booking and Appointment for WooCommerce plugin synchronizes with Google Calendar, allowing sellers to view and manage bookings and create a unique account for these events.
This article will give you step-by-step instructions on how to synchronize the plugin and its options.
Before we do that, let’s talk about the benefits of synchronization.
Table of contents
What’s the purpose of syncing WooCommerce with Google Calendar?
The golden rule for a successful business is to keep every component moving and to minimize human error.
When it comes to a business model like booking, where customer interaction and service delivery are not directly resolved at the point of sale, it is even more important to ensure the best possible outcome.
The YITH Booking and Appointment for WooCommerce plugin simplifies order management for sellers. Orders can be viewed in list or calendar booking form within the dashboard. However, bookings may also be received outside of the eCommerce platform.
It is crucial to avoid overlapping bookings to prevent financial and reputational harm. Millions of people use Google Calendar because it is simple, intuitive, and integrates with many other apps and services.
Managing everything on this calendar may be the best option for those who want to keep everything in sight at all times. Google Calendar also offers notifications on mobile devices, helping you keep track of everything.
Fortunately, synchronizing the YITH Booking plugin with Google Calendar is a quick and easy process, which we will explain in detail in the following points.
How to sync Google Calendar and YITH Booking
Before we get into the details, you can find a video tutorial HERE.
To sync Google Calendar with the YITH Booking plugin, you need an account and the plugin installed on your WooCommerce site. Once you have these, we can start the synchronization.
Enabling the “Google Calendar” module
To start, enable the “Google Calendar” module in the plugin. Go to your WooCommerce side menu and click on YITH > Booking and Appointment to open the plugin control panel:
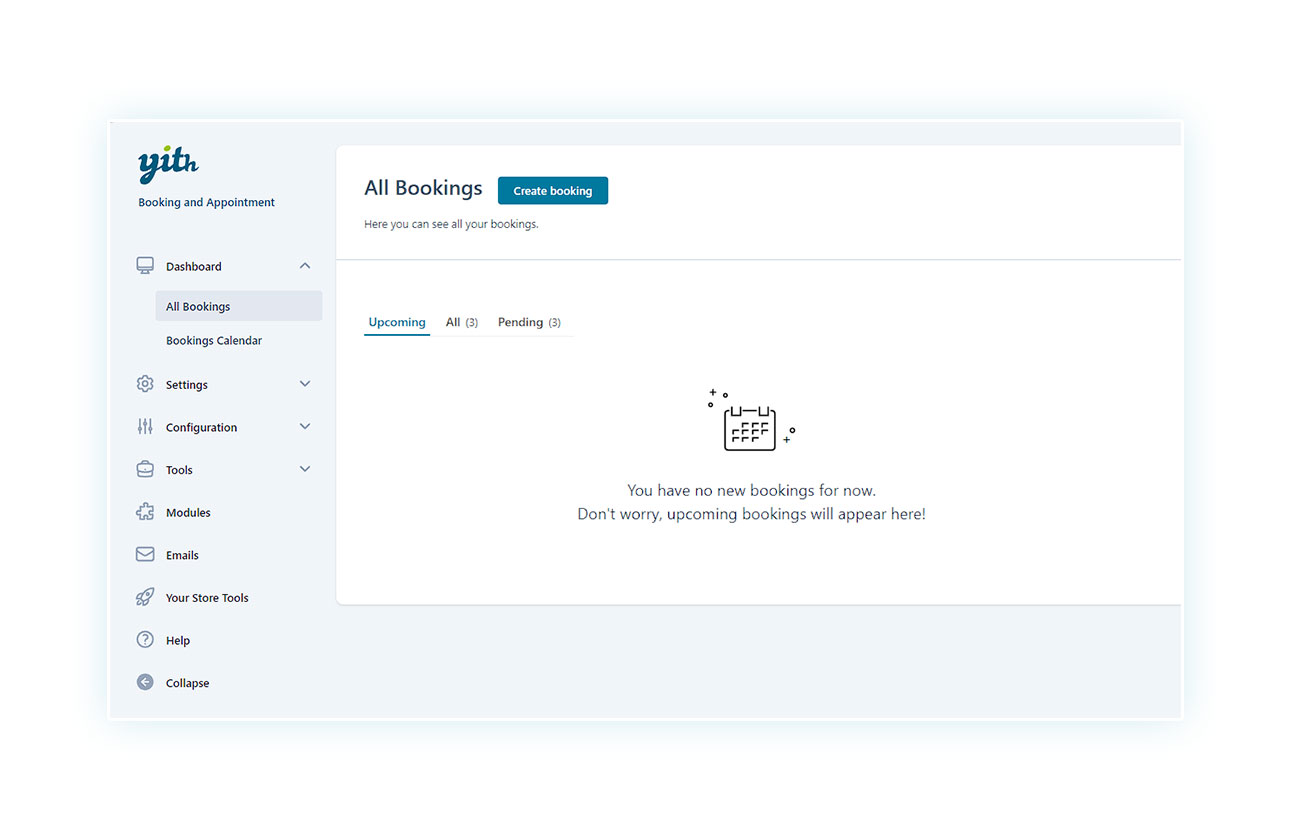
Once this is done, you will have a new side menu with the different tabs of the plugin. The one we are interested in is “Modules”, marked by the puzzle piece icon:
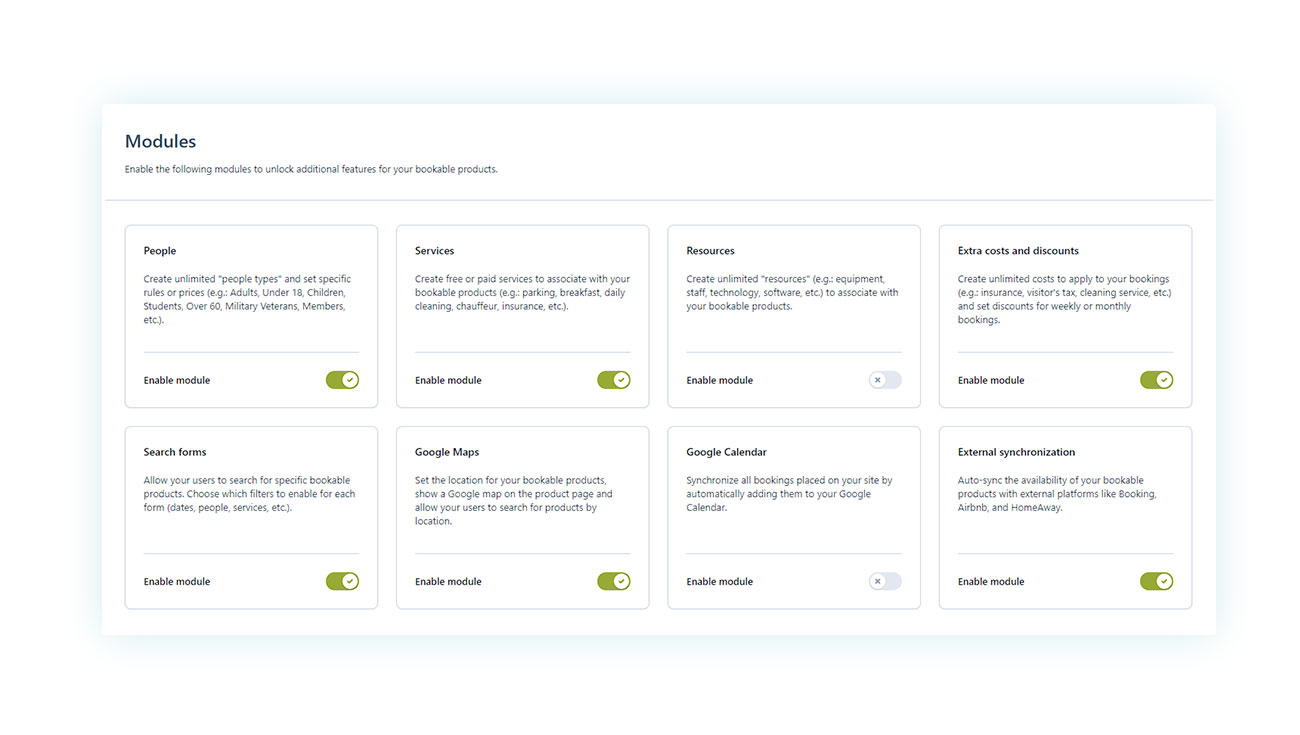
This section allows you to enable additional features of the plugin. At this point, all you need to do is look for the one called “Google Calendar” and enable it:
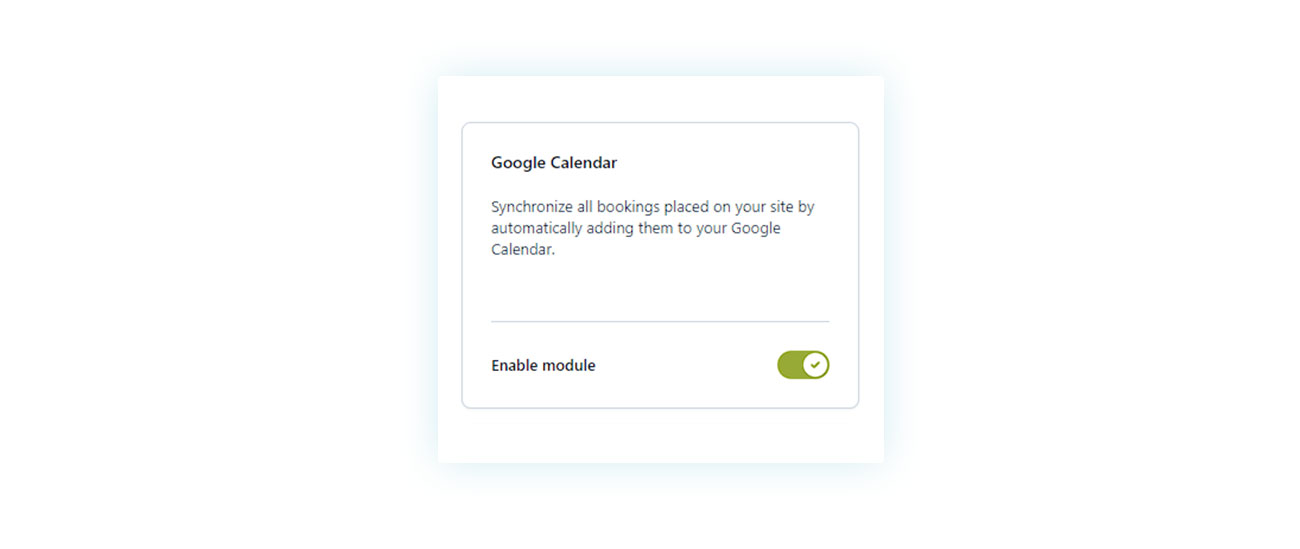
And with that, you have completed the first step of the process.
Google Calendar settings in the plugin panel
Once the module is activated, we must return to the side menu proposed by the plugin, in “Calendars”, which you must open:
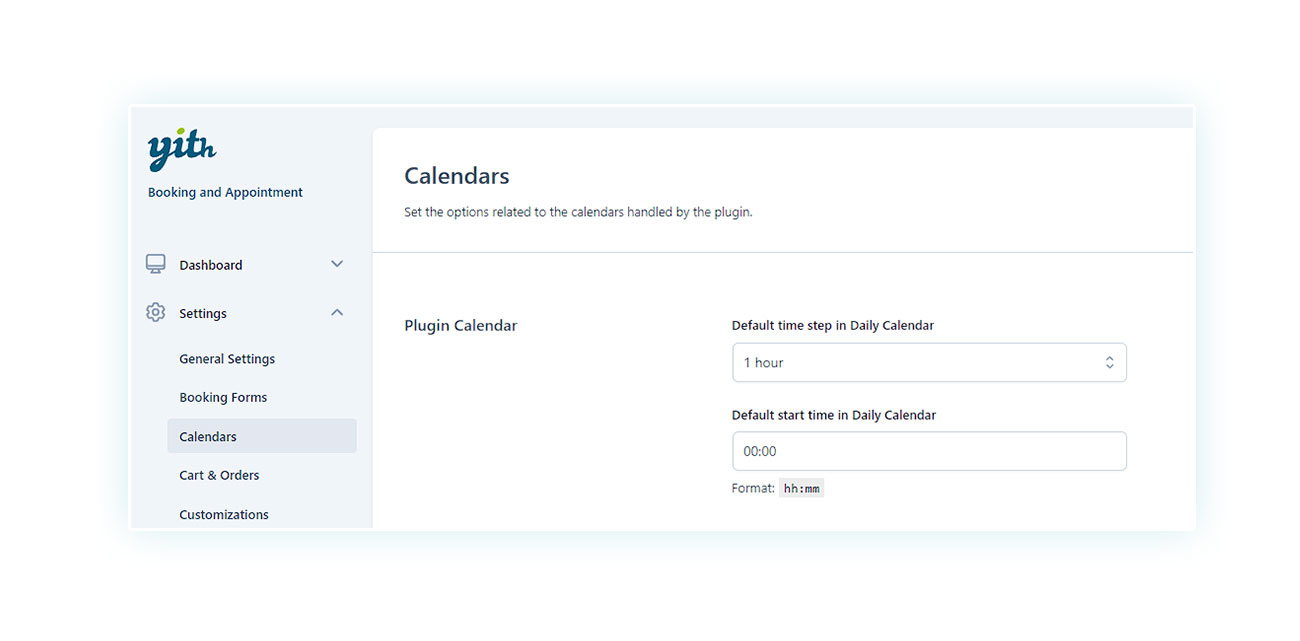
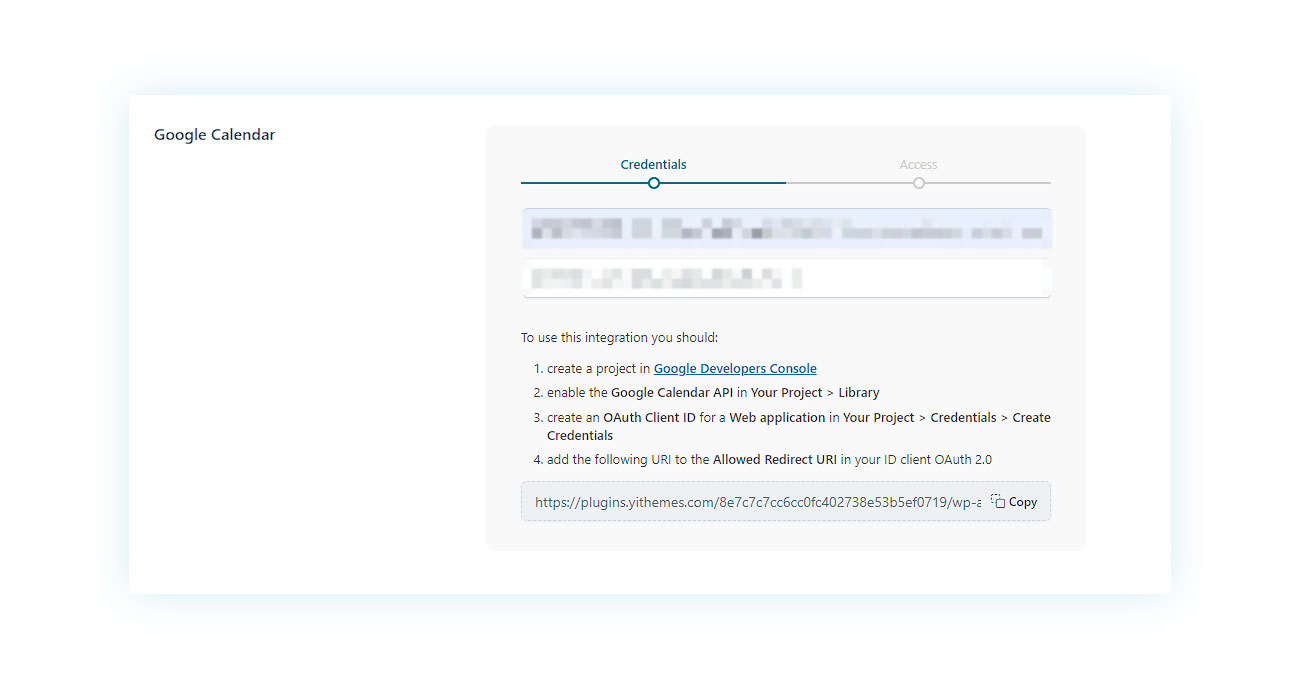
On the Calendars page, scroll down to find the Google Calendar section (if you can’t find it, make sure you have the form enabled correctly):
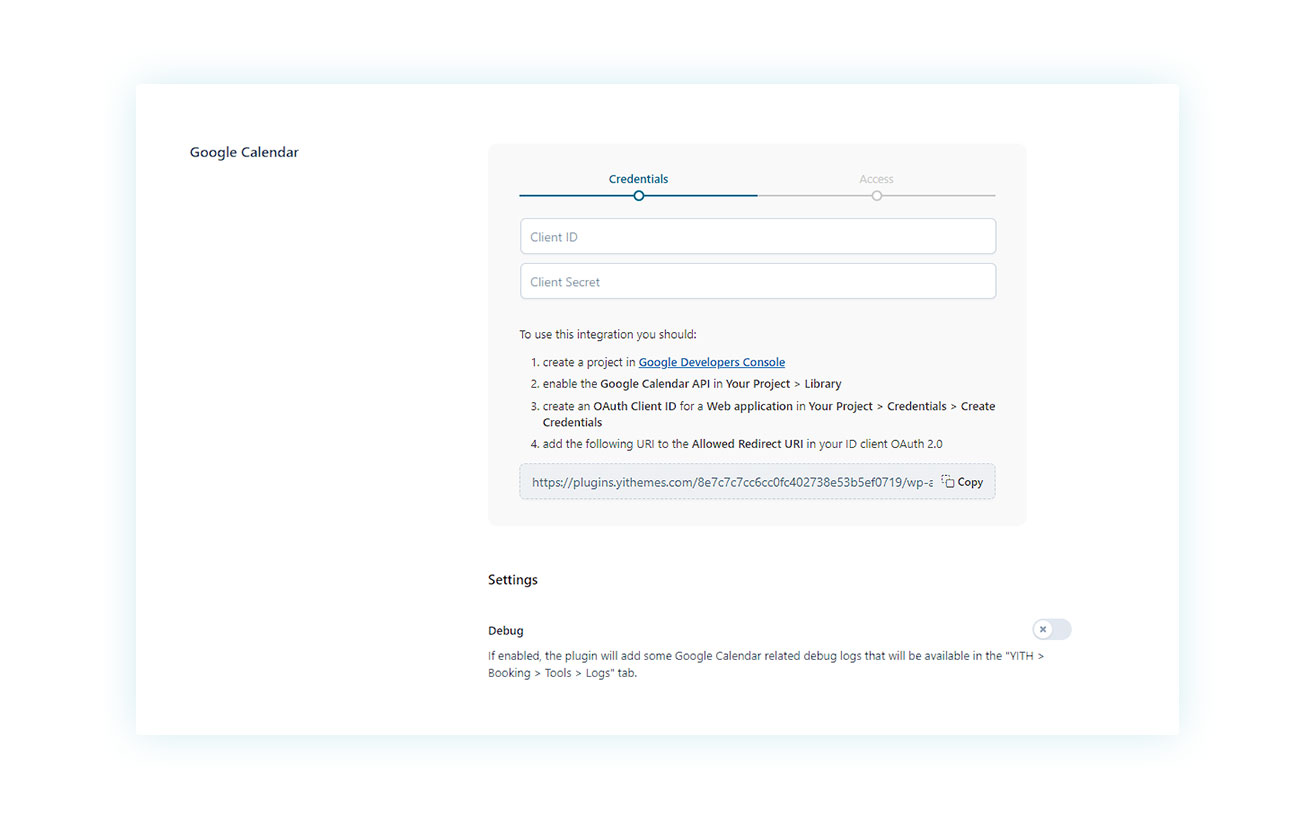
As you can see, the plugin itself explains how to connect to Google Calendar, but don’t worry: we will do these steps together in the next few points.
Google Developers Console: how to create and configure a project
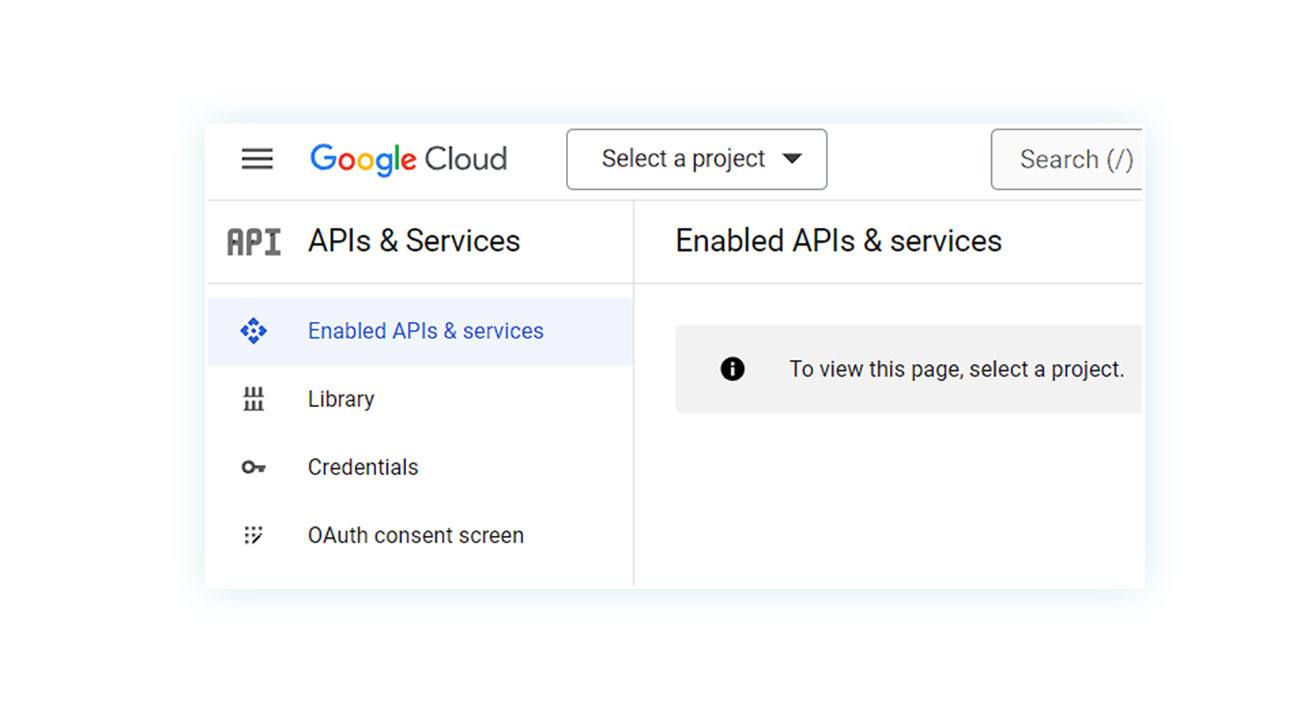
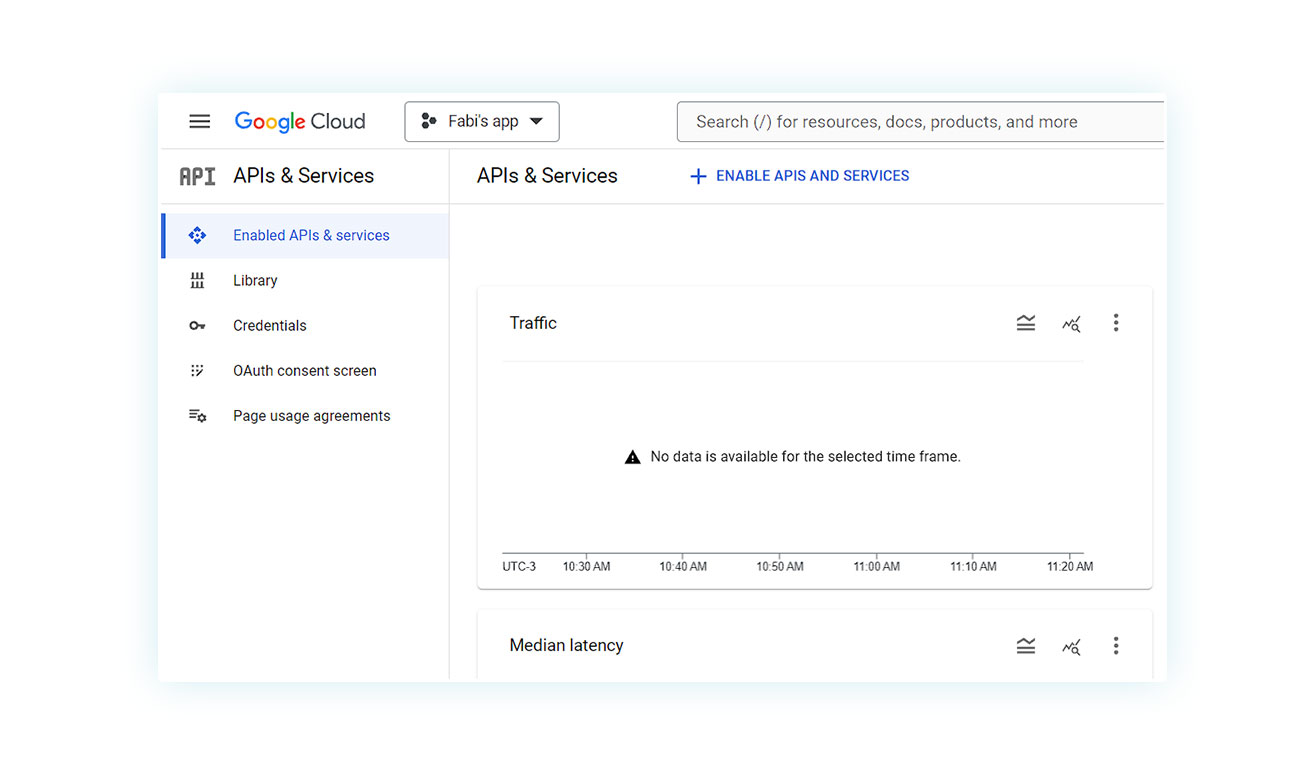
Next, let’s connect our Google account to the plugin. To do this, click on the link provided by the plugin, which will take you to the Google Developers Console.
Here you will need to create the project to associate with the plugin. To do this, click on “Select a Project” at the top:
If you’ve created projects before, you might already have one open. If so, just click on the name of the project, in our example “Fabi’s app”:
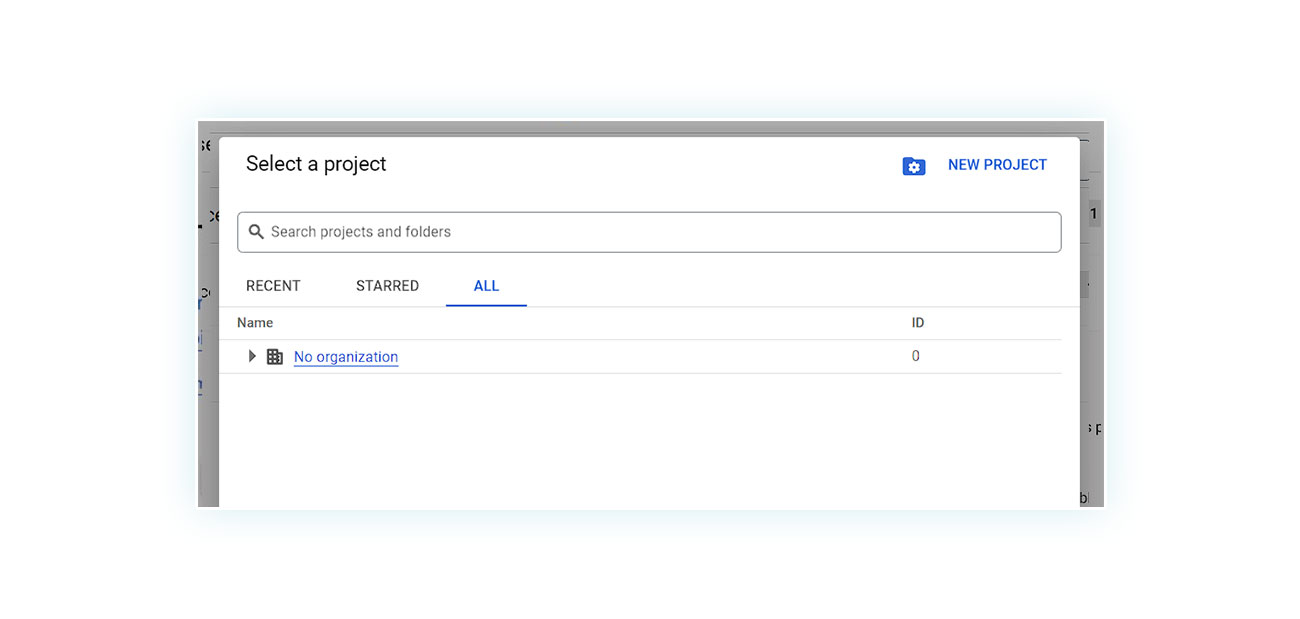
In the popup that opens, click “New Project” in the upper right corner:
And you will get a creation page:
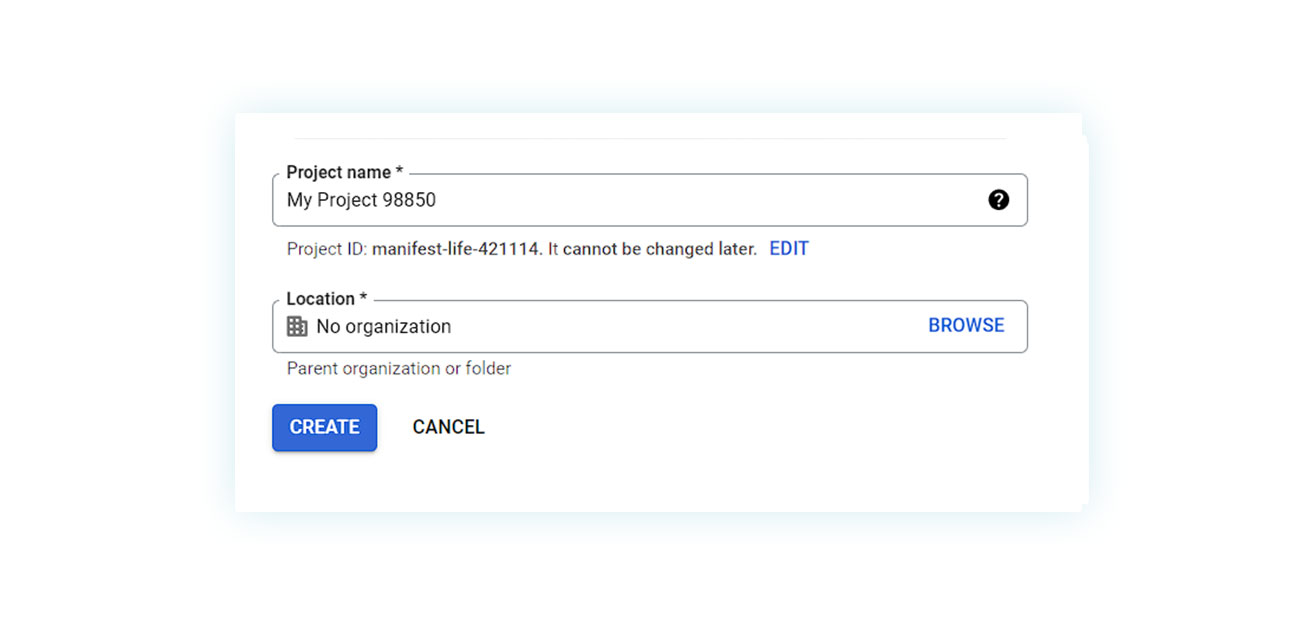
Here you will have to choose a name that will make it easier to recognize this project and click “Create”. You will be returned to the console, but a small message will appear in the top right corner informing you of the project’s creation status:
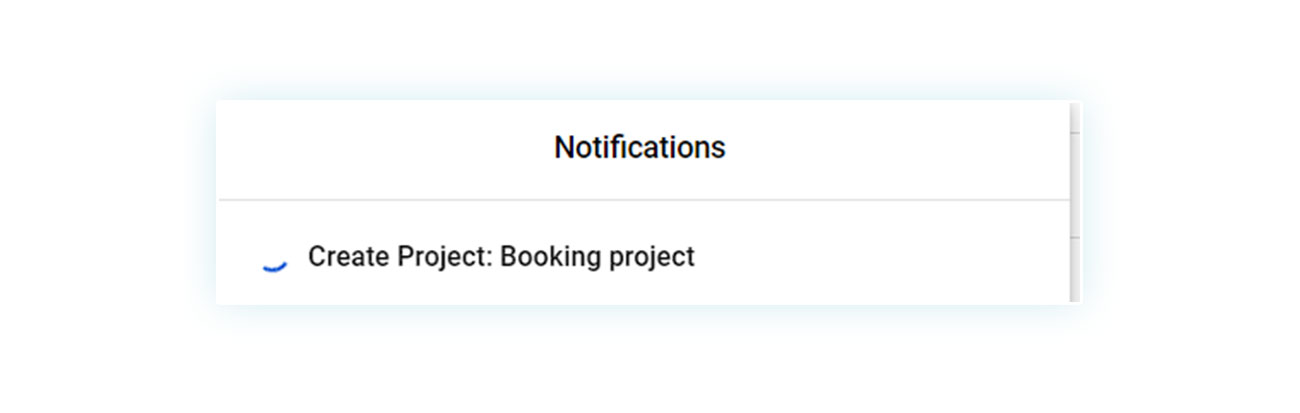
It will take a few seconds. After that you will get a confirmation of the creation:

All that’s left is to click on Select Project. The step you just took is equivalent to the first of the four steps required by the plugin, which is to “create a project in the Google Developers Console“. Let’s move on to enabling the API.
To do this, go back to your console and click on “Library” on the left. This will take you to the respective page:
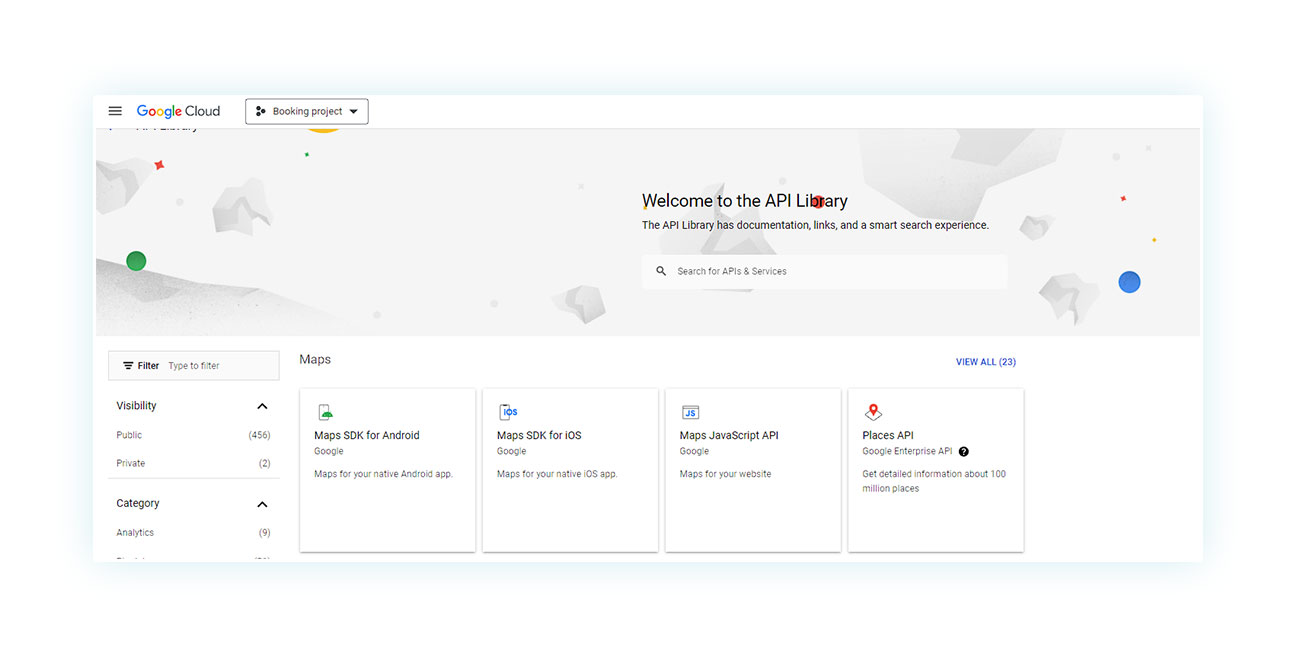
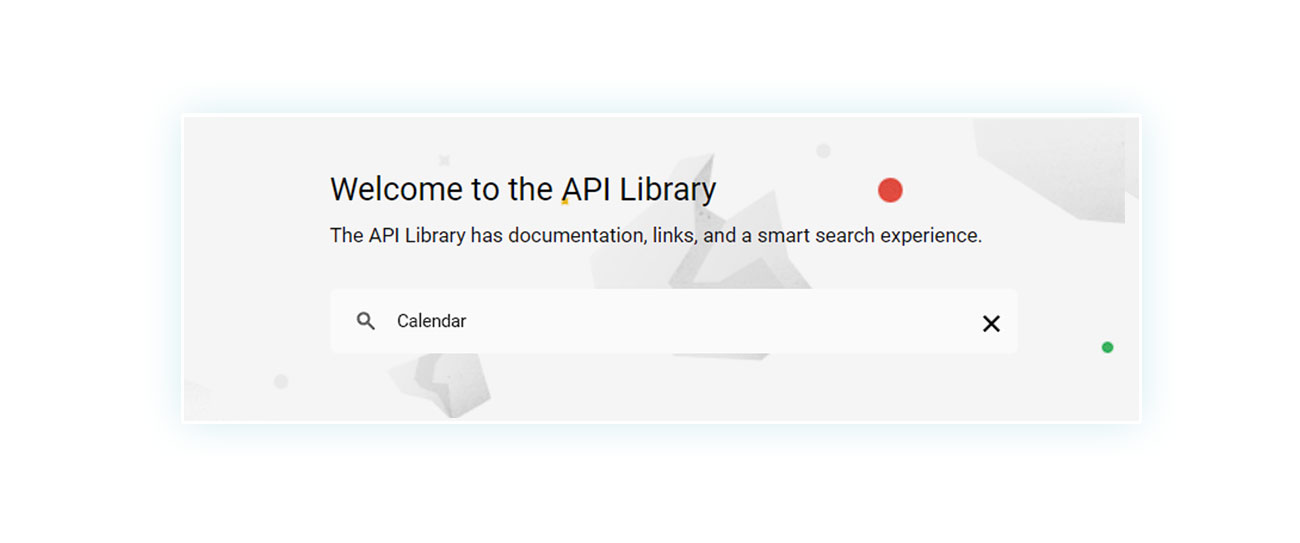
Don’t be afraid of all the tools. Just click on the search bar at the top and search for “Calendar”:
The resource you want will be at the top of the search results:
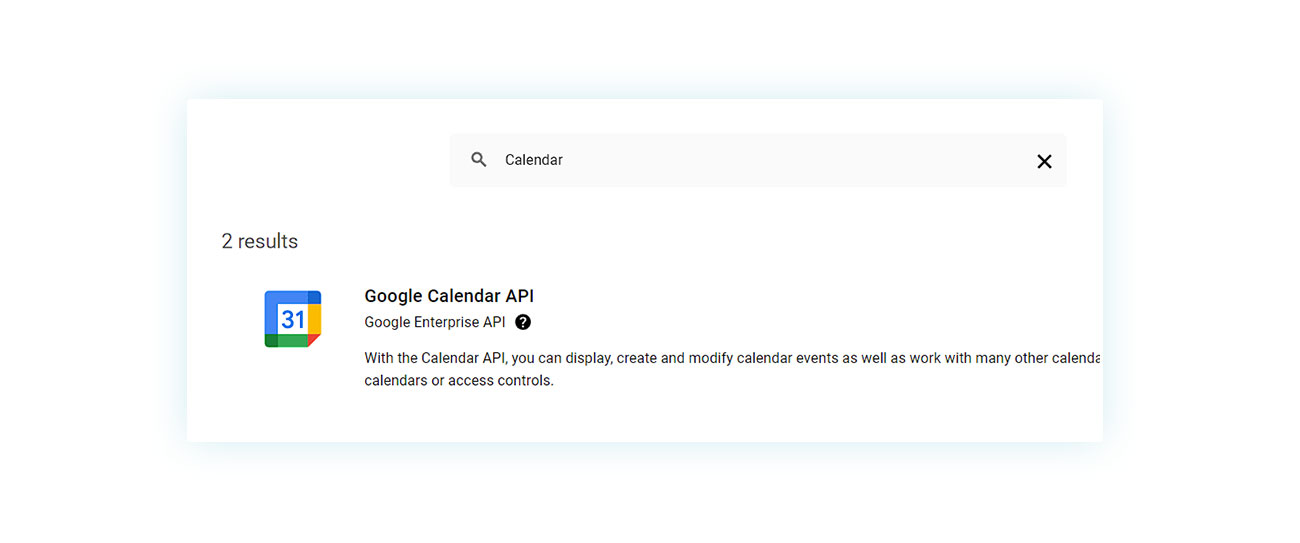
Now all you have to do is click on this result and then click “Activate” on the page that opens. This is the second step required by the plugin. Now you have to create your ID.
Google Client ID and Client Secret
Creating a Google Client ID is super easy, but it takes a few steps (don’t worry, we’ll cover them all here). To do this, go back to the console and this time, instead of clicking “Library”, click “Credentials”:
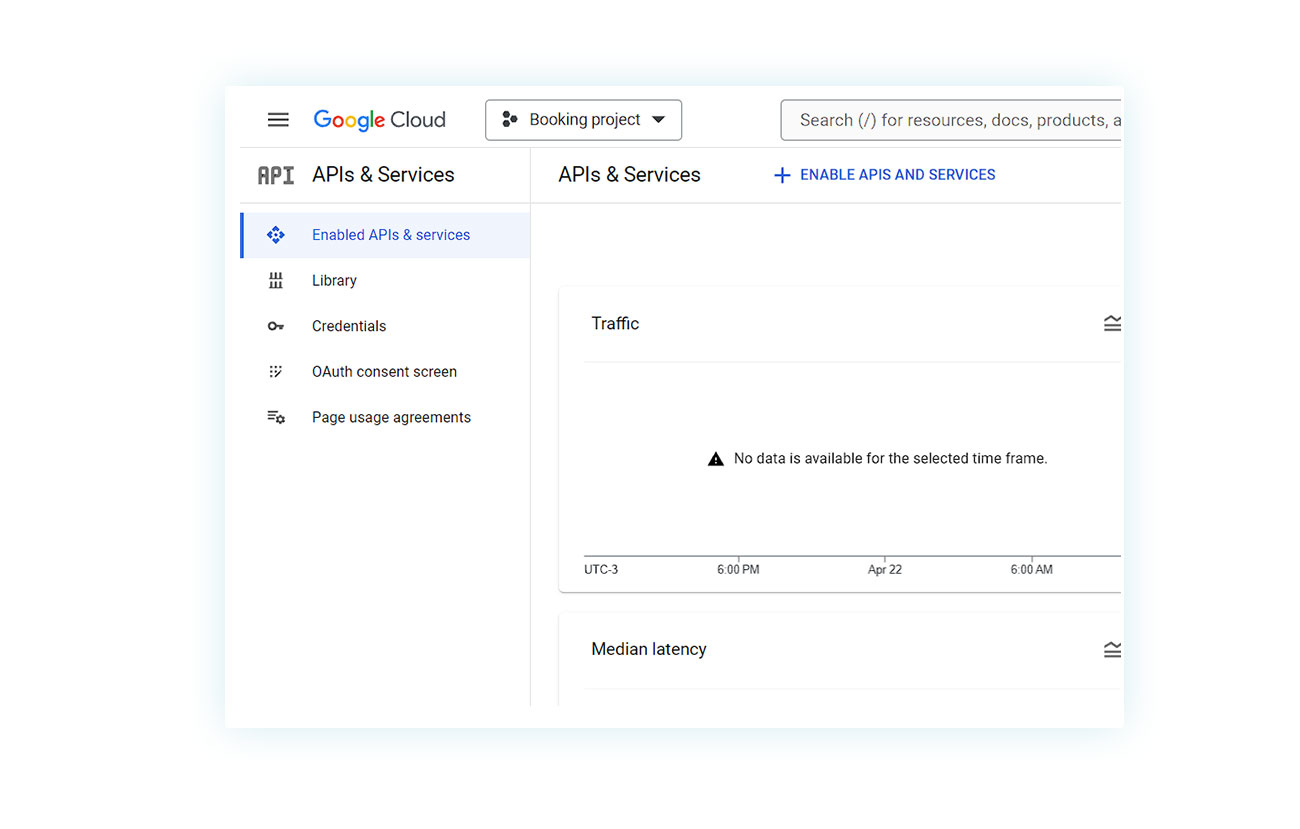
At this point, this page will open:
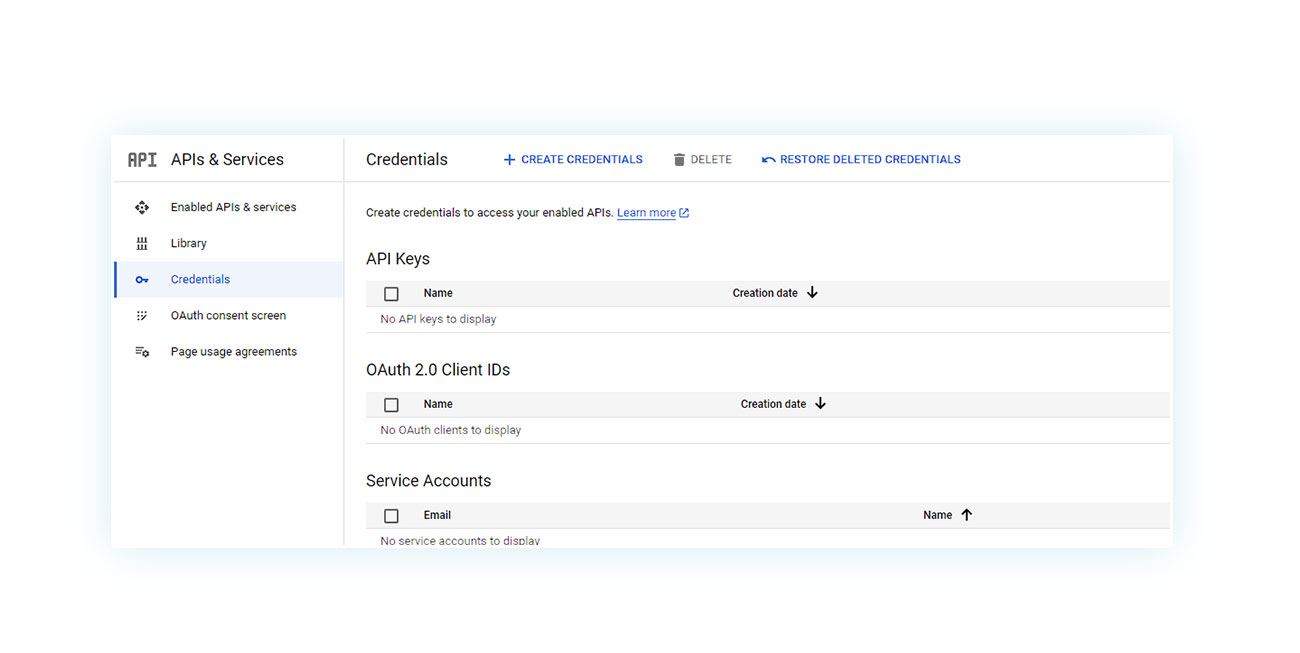
On this page, click “+ Create Credentials” at the top and then click the second option, “OAuth client ID”:
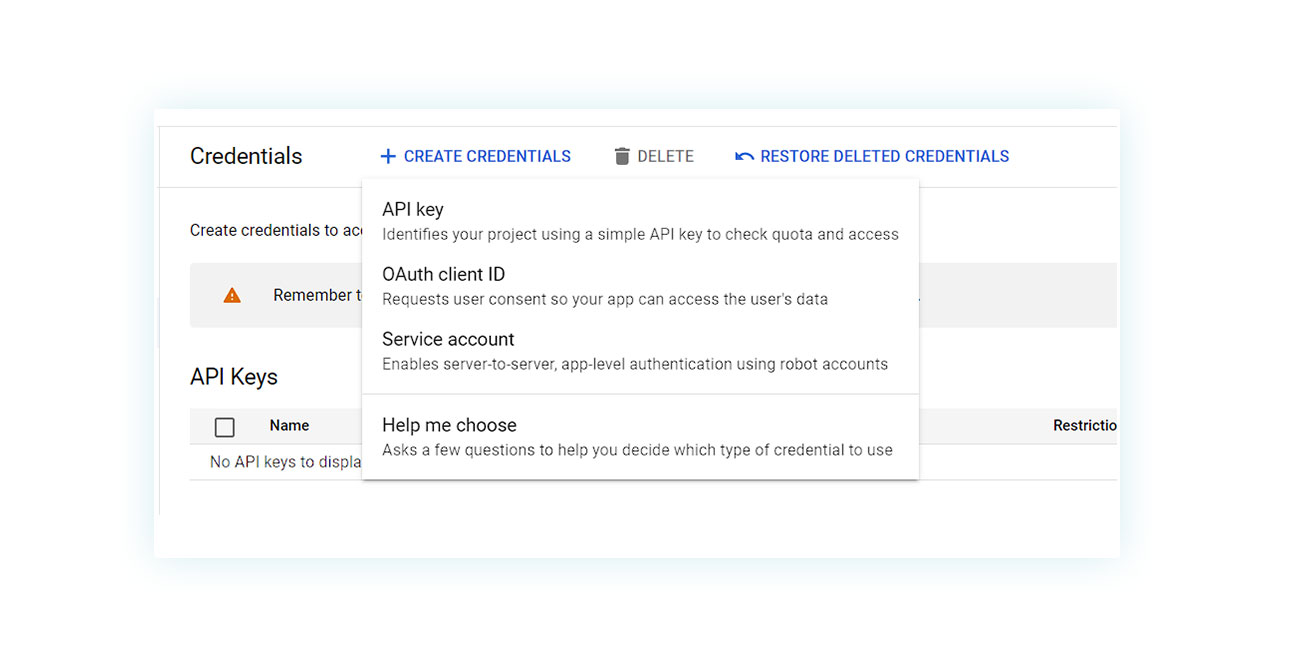
However, before you can create credentials, you must create a consent screen. Once you click on the option above, you will indeed be taken to this page:

At this point, click on the blue button to the right that says “Configure Consent Screen”. You will immediately be asked what type of screen you want to create:
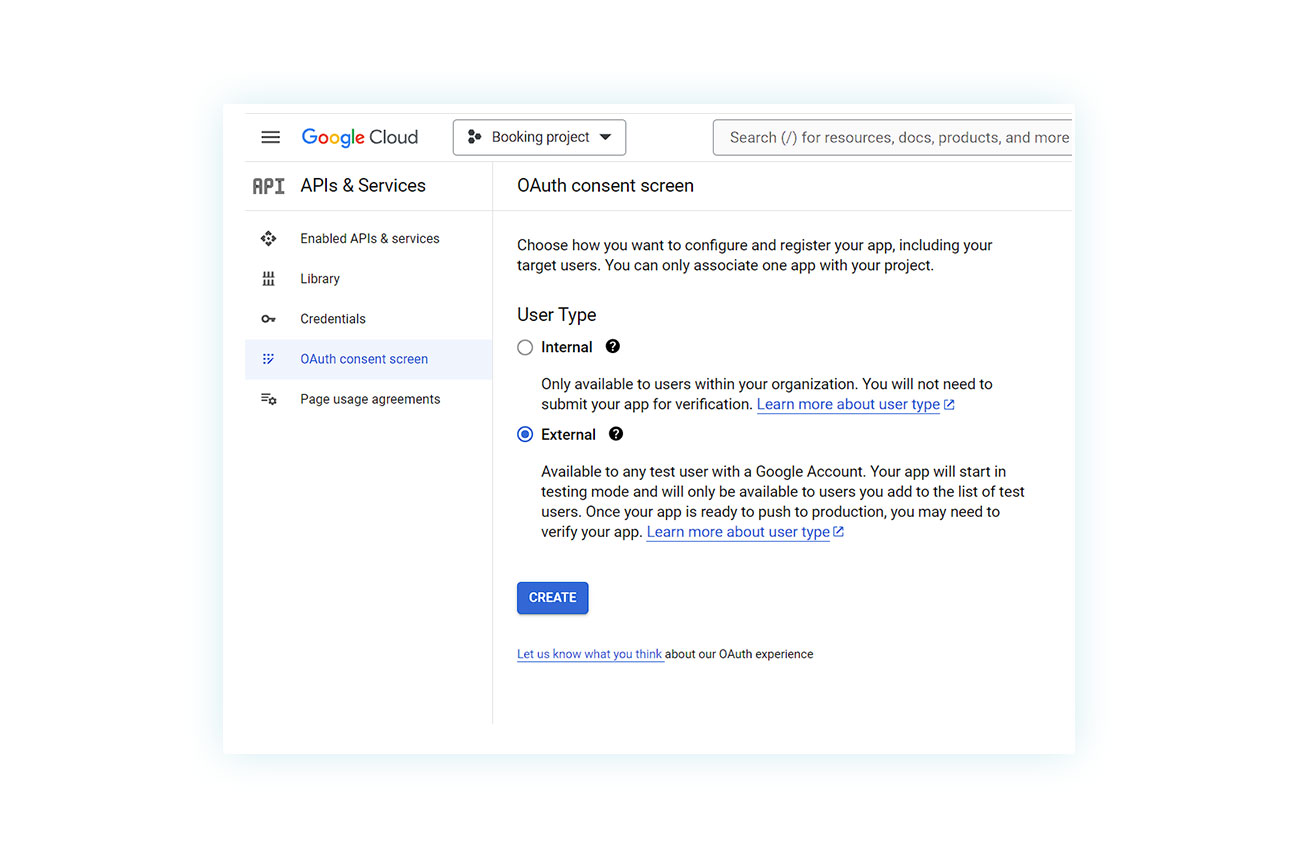
Click on “External” and “Create”. You will still get a page where you just have to enter the project name and your email in the two required fields:
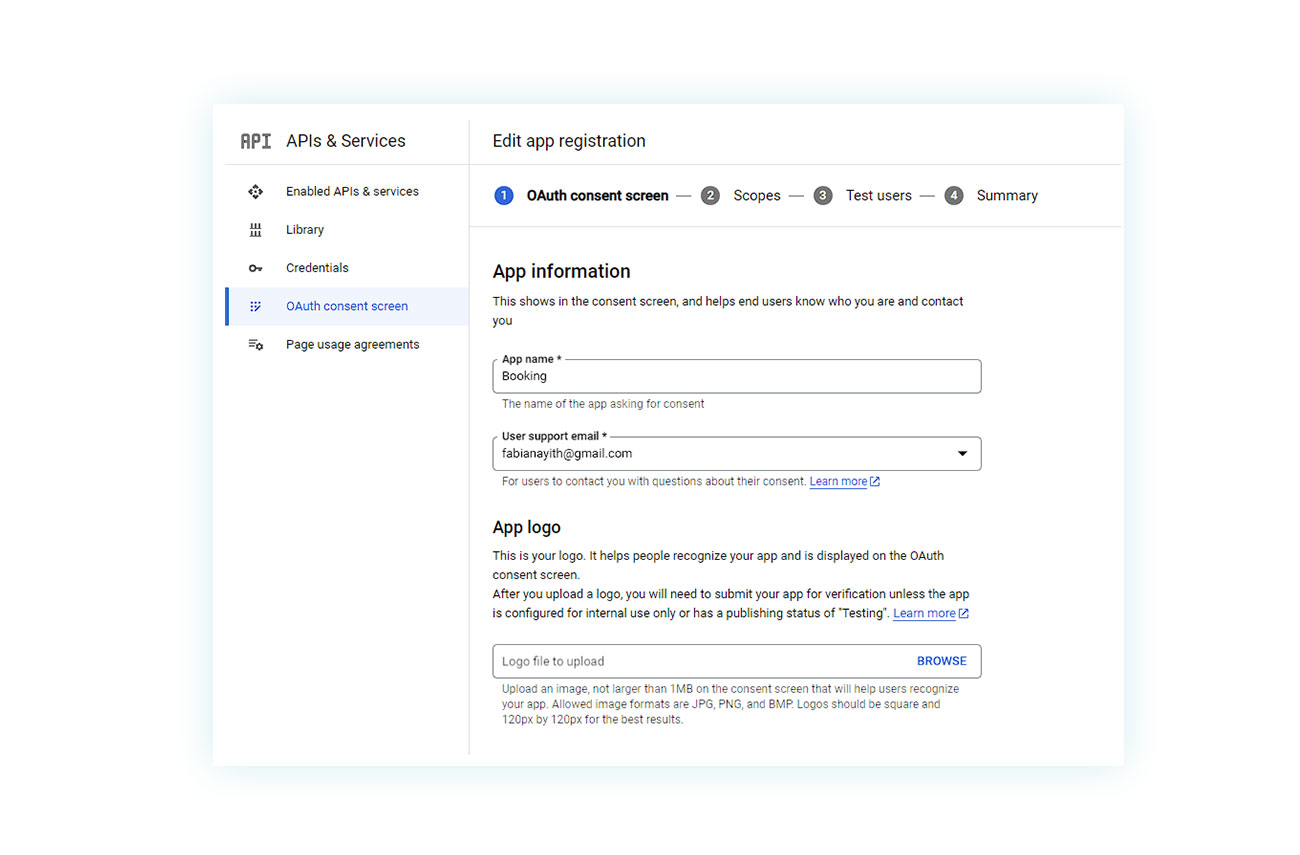
Then click “Save and Continue” at the bottom of the page.
You can also skip the “Scopes” section and go to “Test users”:
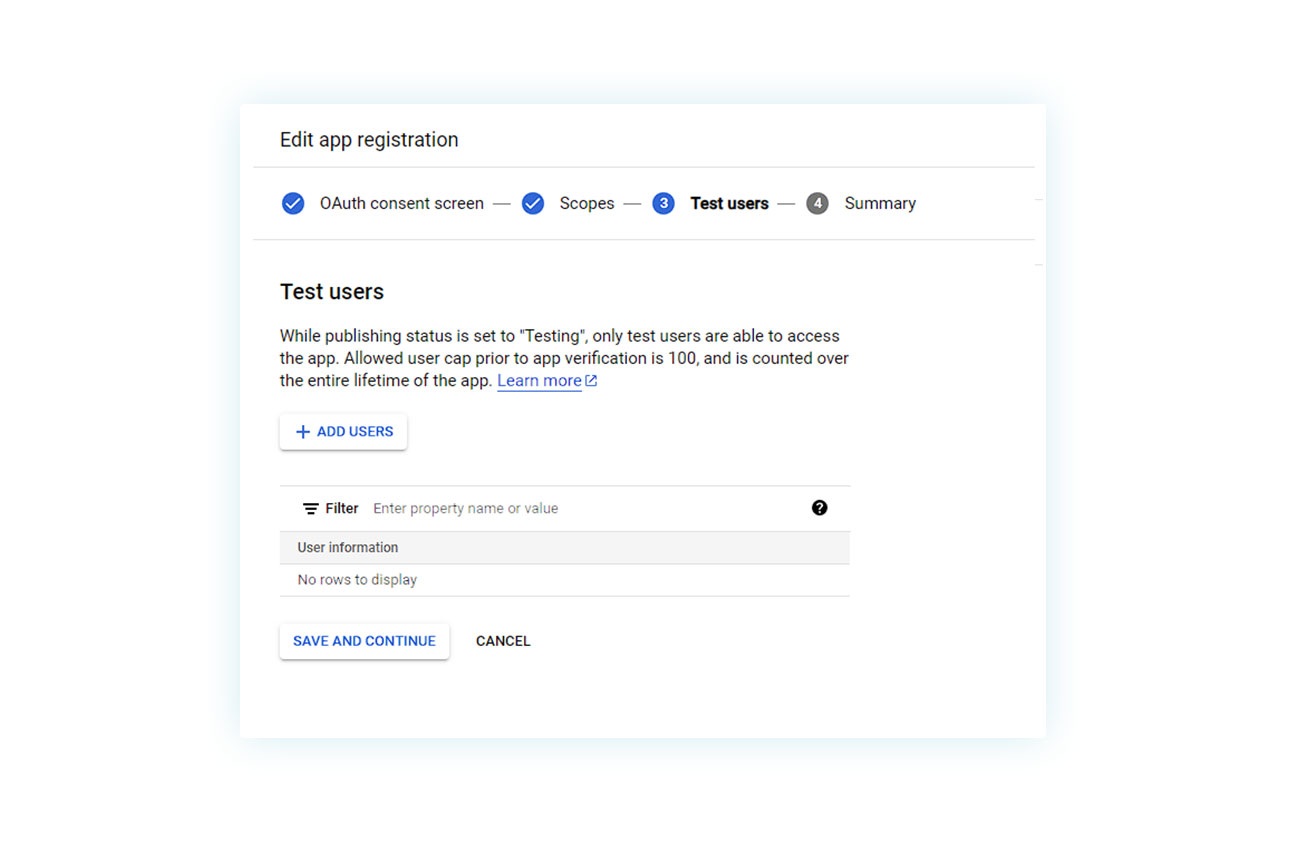
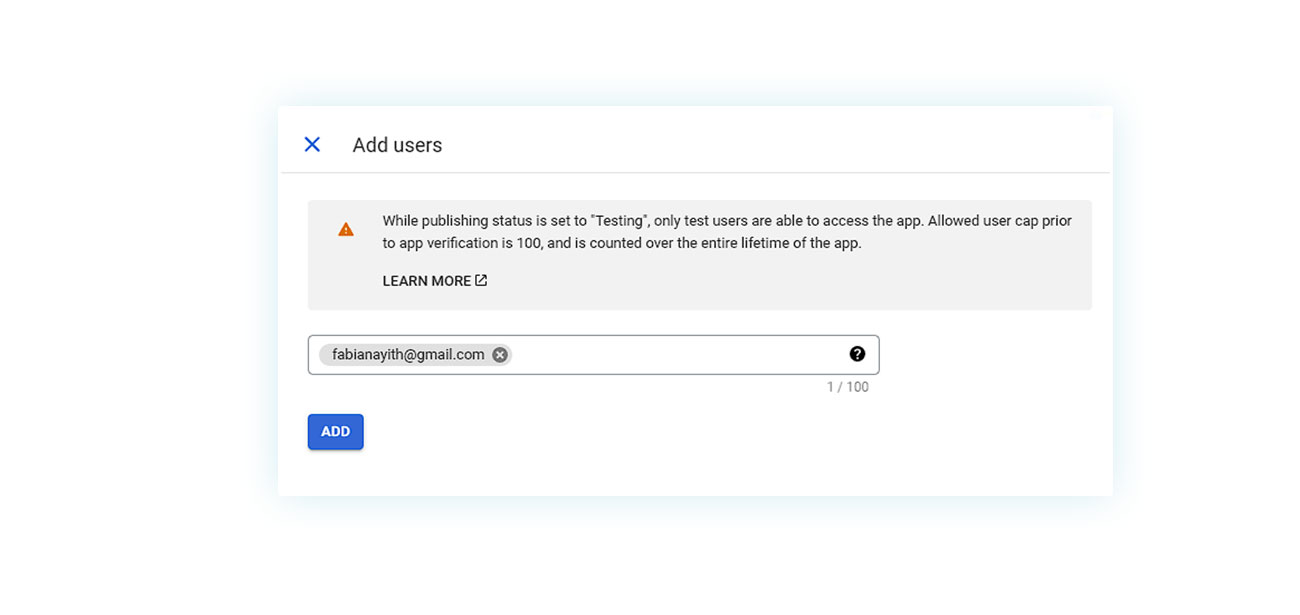
Here, click “Add users” and add your email address to verify:
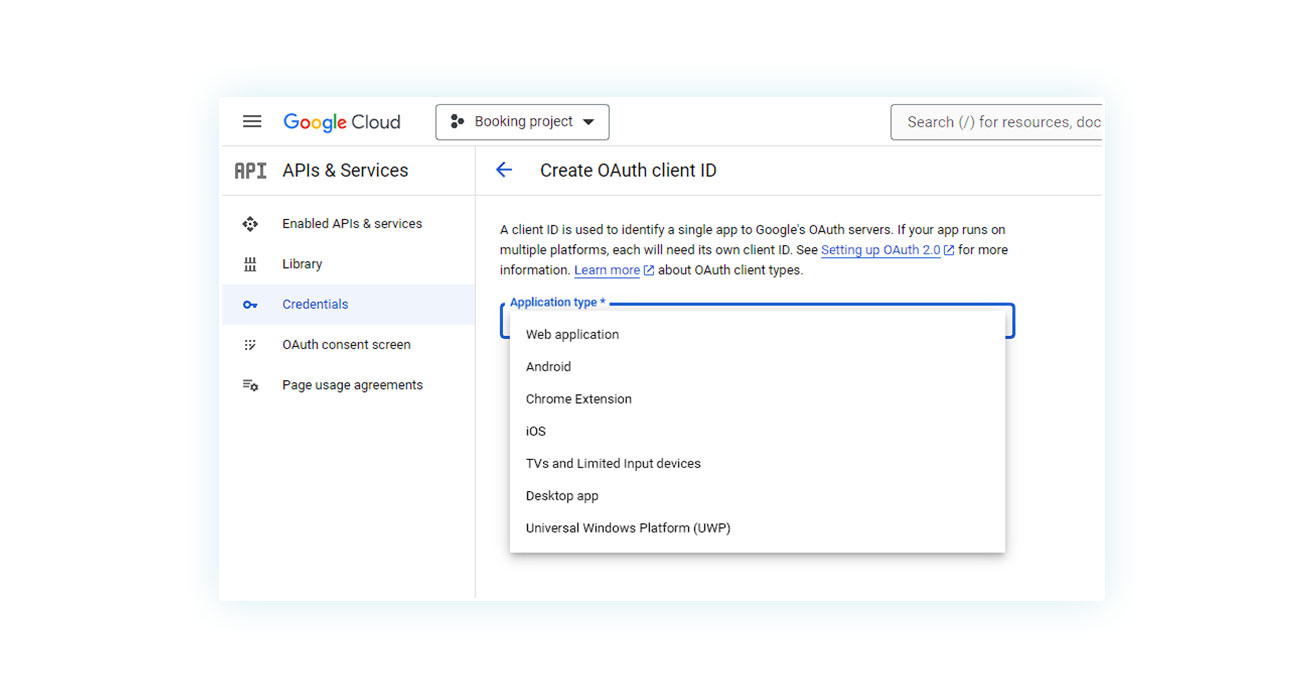
At this point, go ahead and return to the “Credentials” page and click on “OAuth client ID” again:

On the page that opens, you must specify the application type, so select “Web application”:
So you need to add the example URL. To do this, go back to the plugin page:
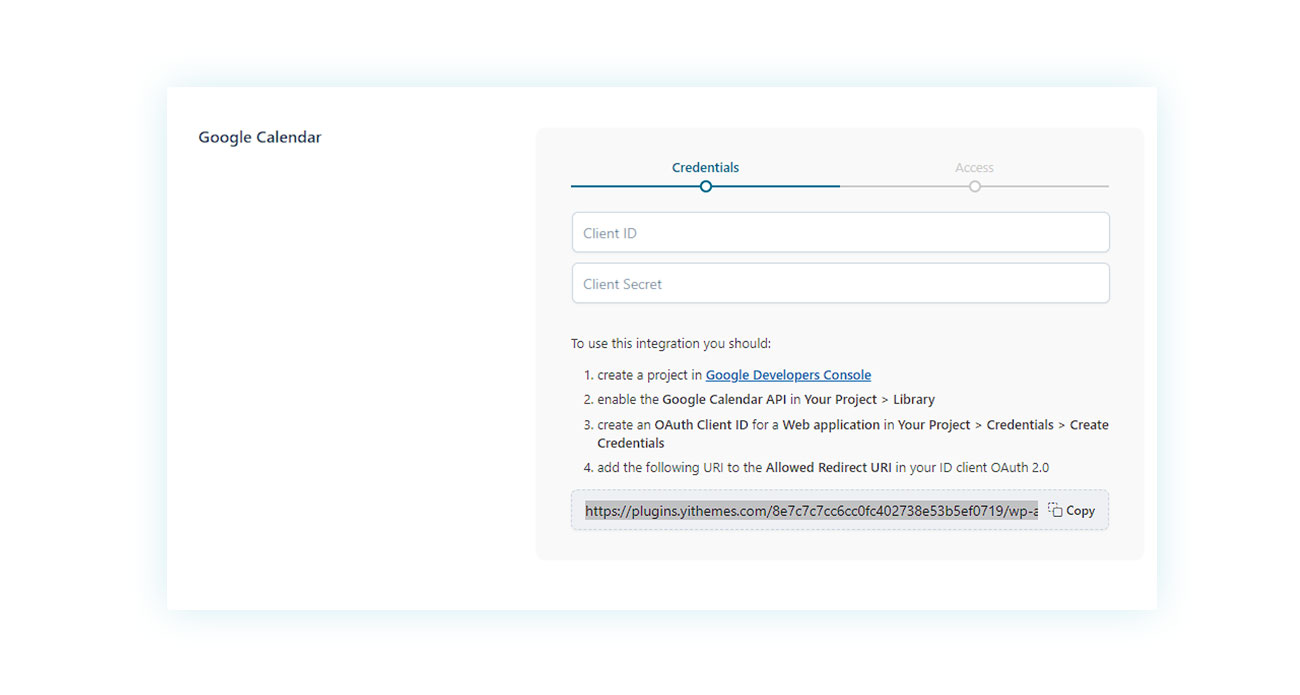
And copy the URL at the end and paste it into the “Authorized redirect URLs” section:
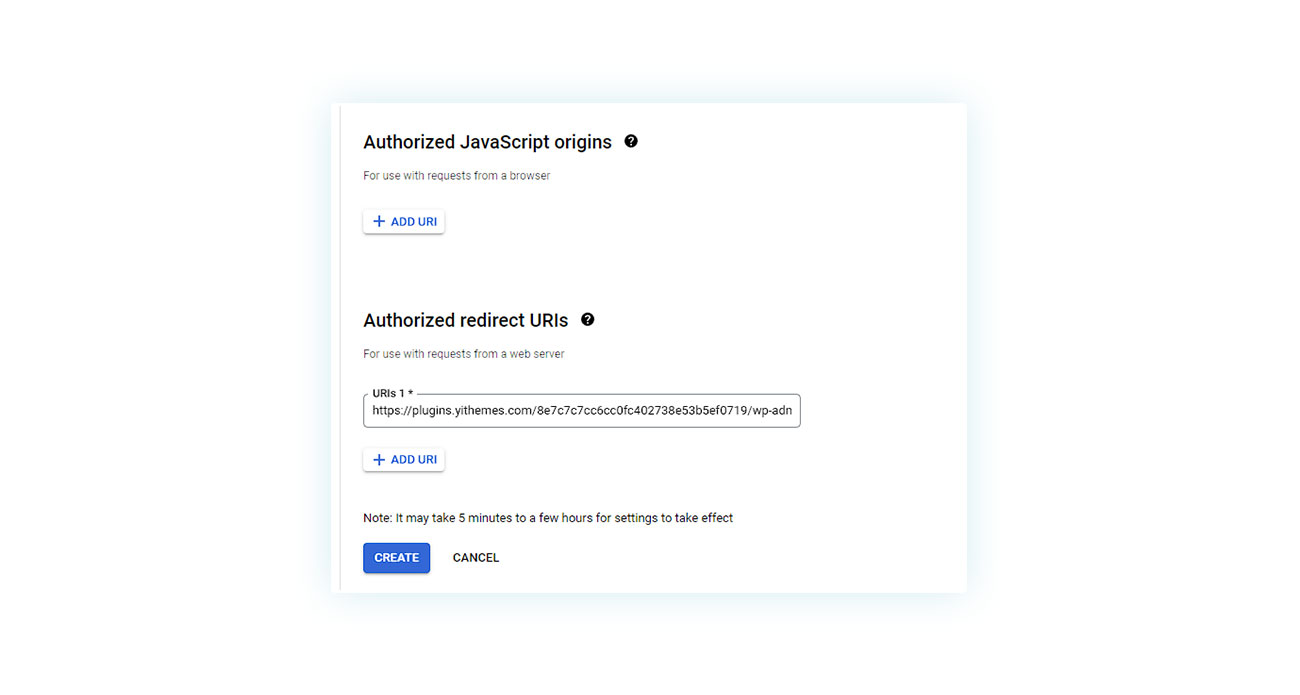
Click “Create” and you have created your credentials:
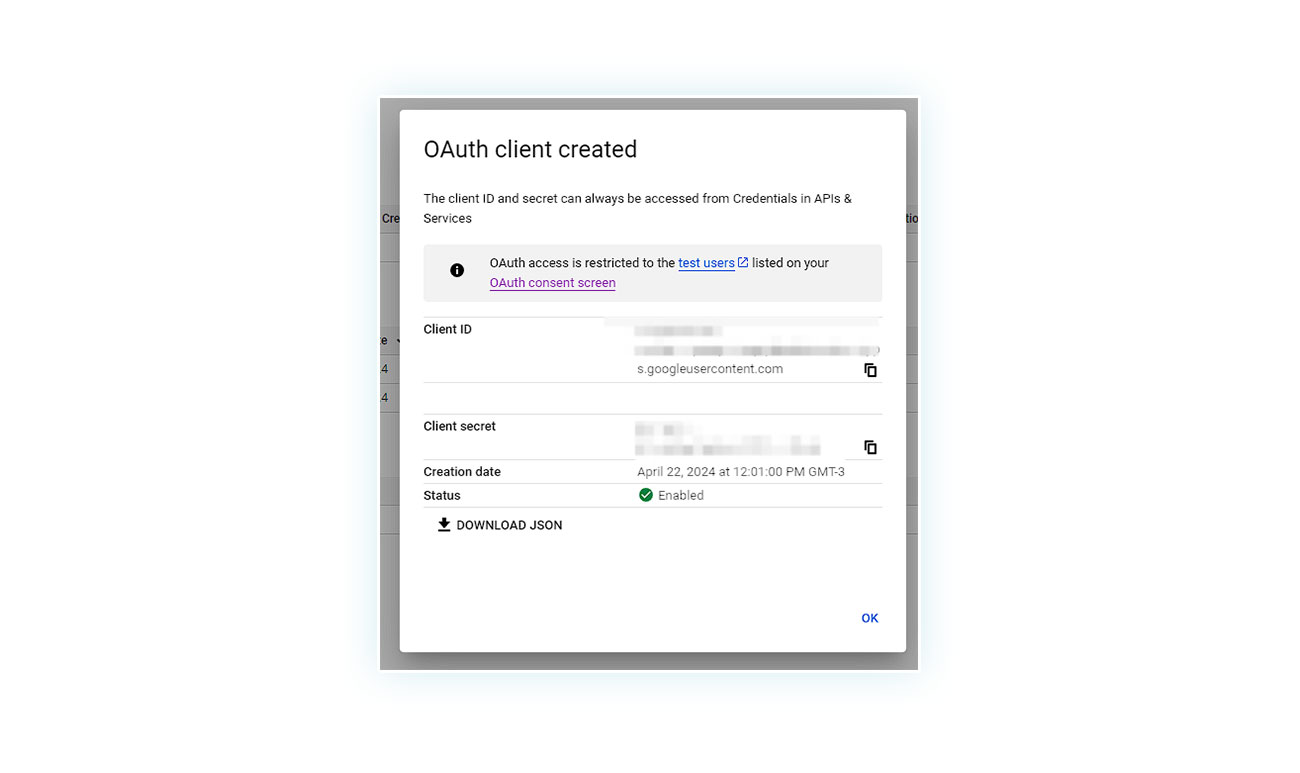
Take this data and enter it into the plugin:
You have now completed all the steps to create a project. Now all you need to do is sign in with your Google Calendar account.
Linking Google calendar account
If you did all the above steps right, you won’t find the guide to get credentials on the plugin screen. Instead, you’ll see a login screen:
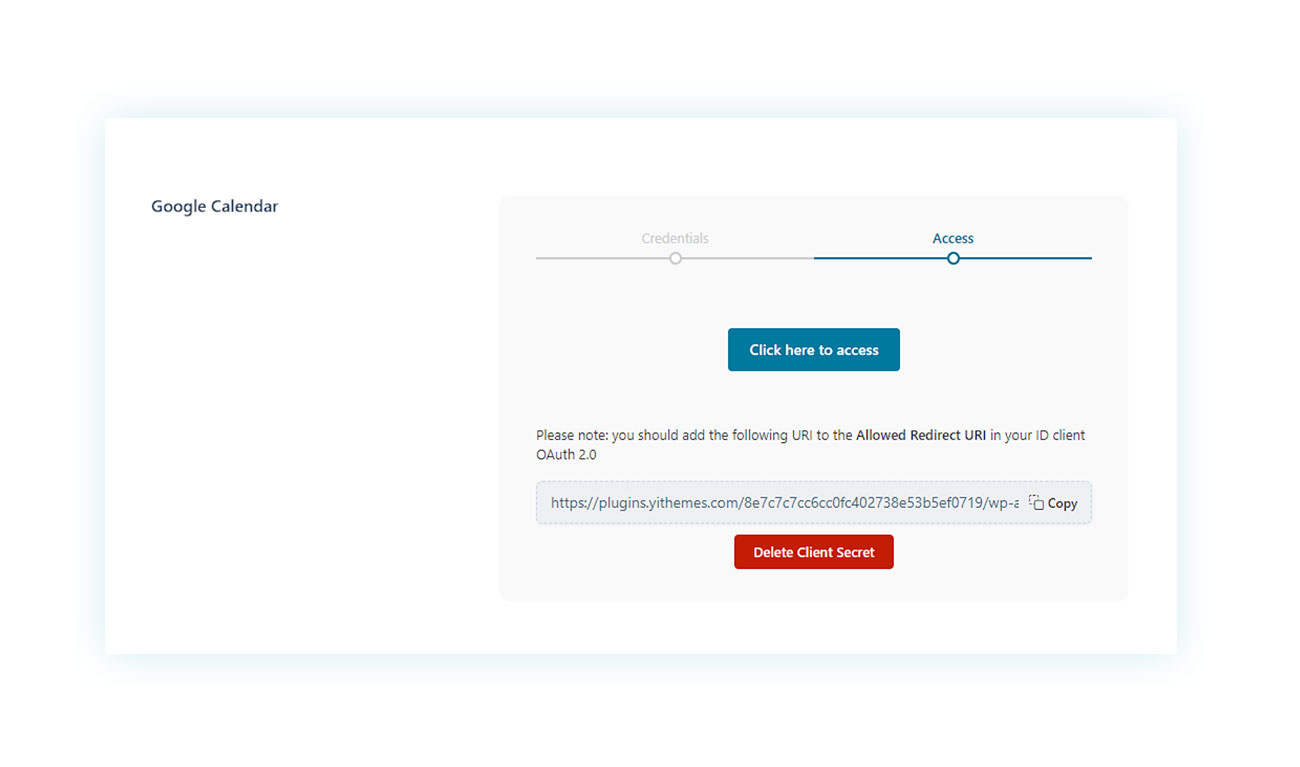
Click “Access” to go to the Google login screen:
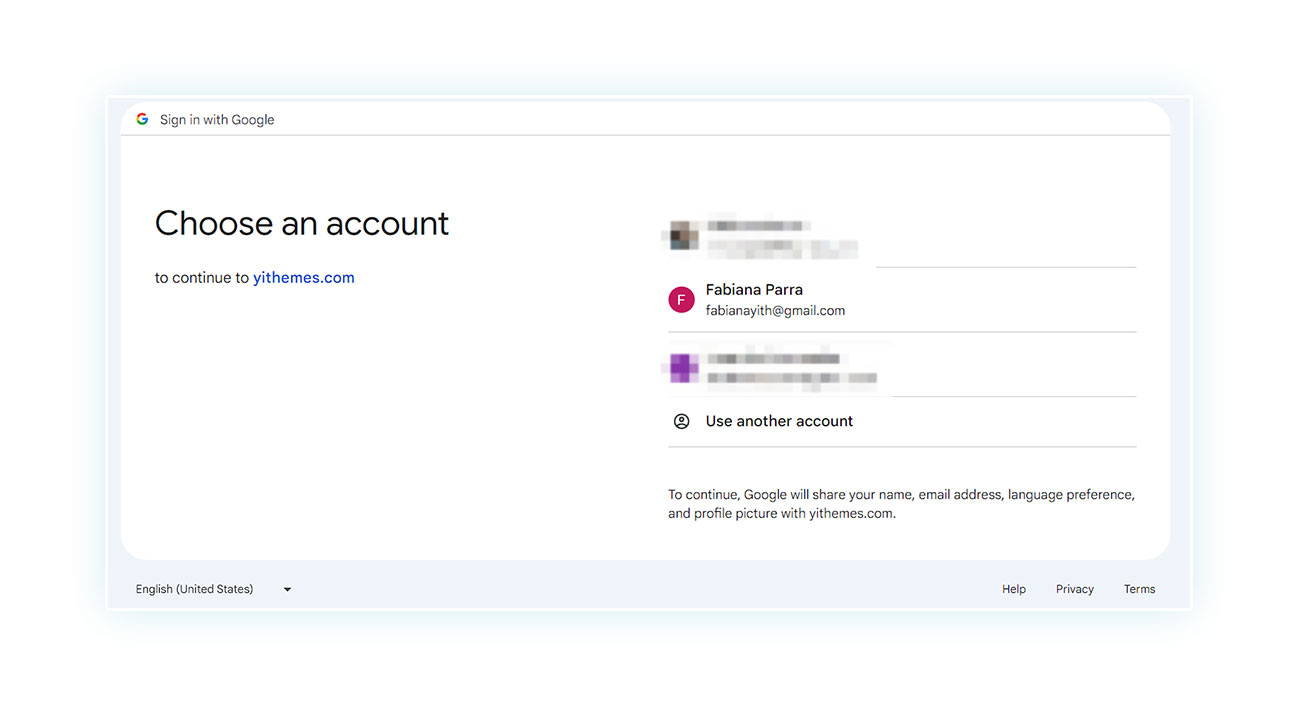
NOTE: Be sure to sign in with the same account you used to create the project.
Once you are signed in, you will see a Google warning message, but don’t worry – this is perfectly normal. Just click “Continue”:
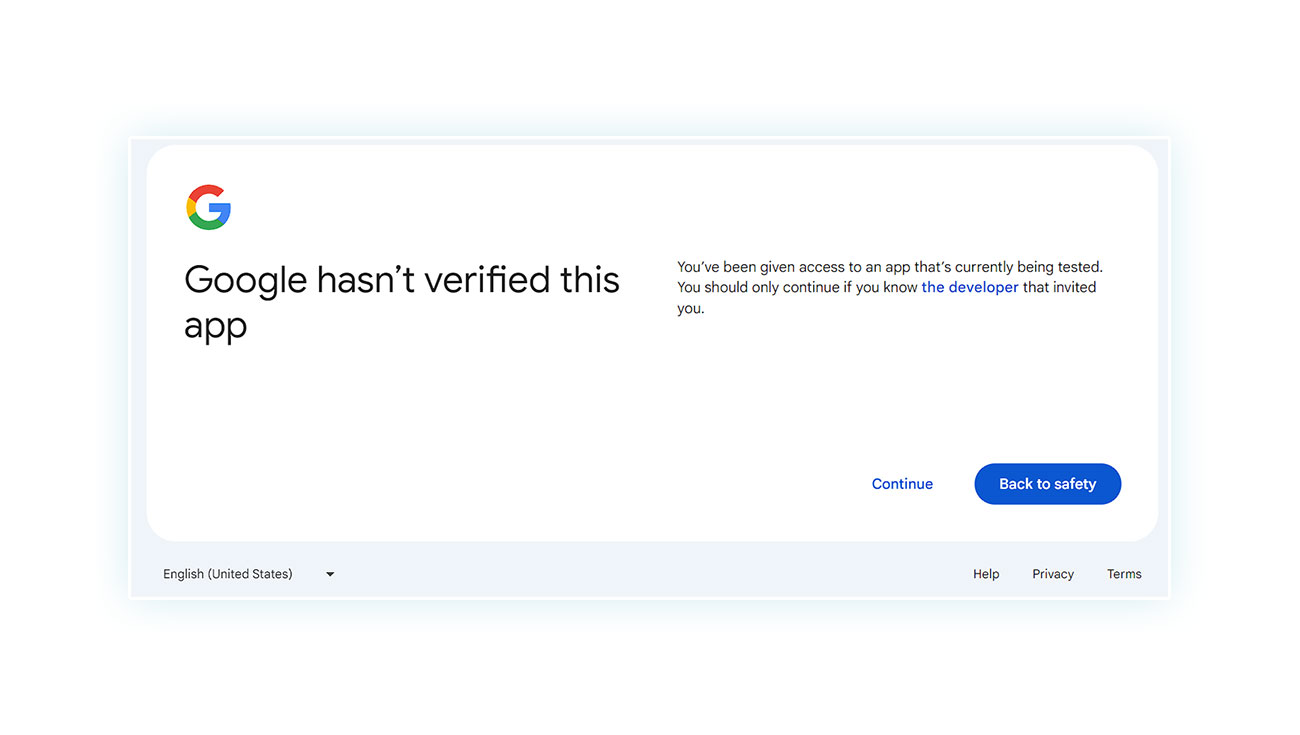
Grant the app permissions and continue.
Google Calendar synced
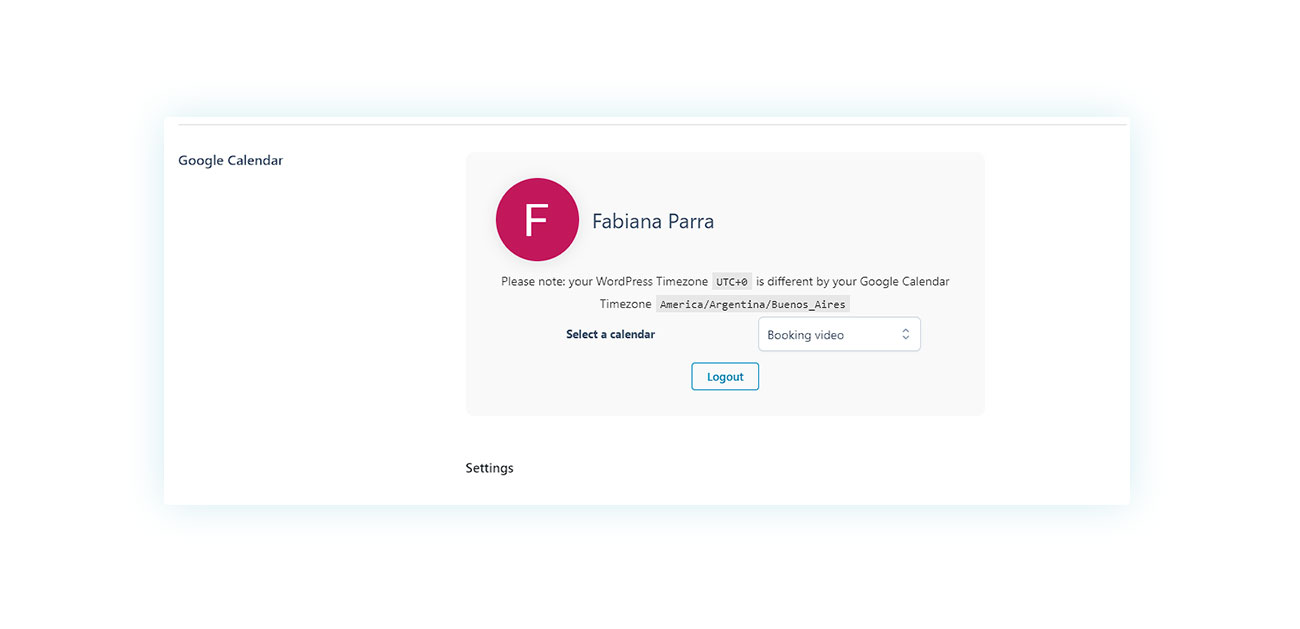
Once this is done, the different calendars of your users will appear in the plugin, as in this example:
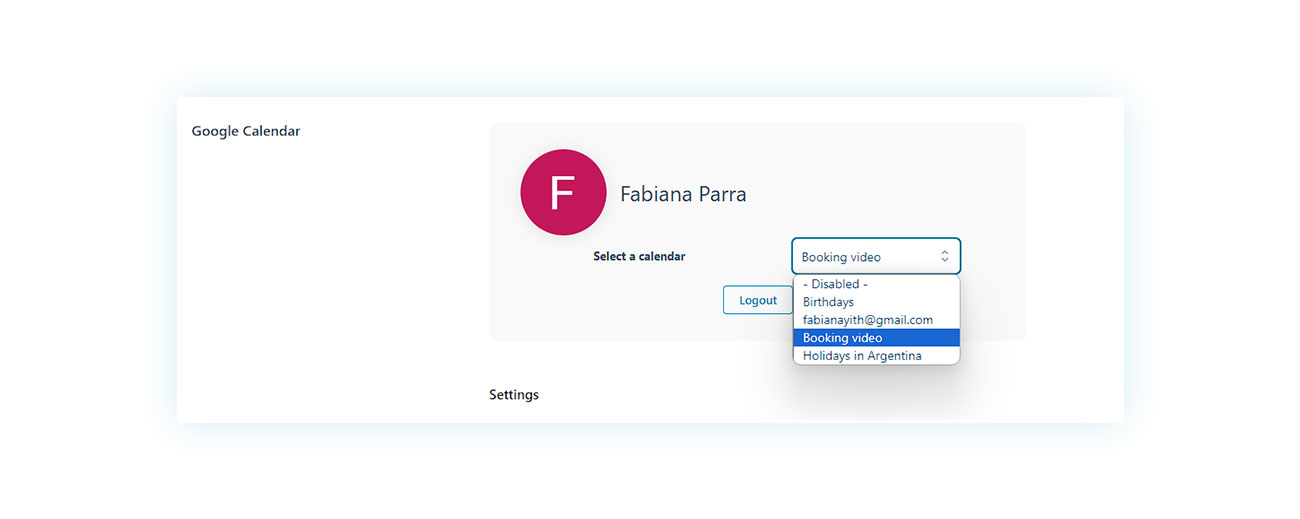
Choose a calendar from the list or create a new one in Google Calendar.
Bookings in Google Calendar Links
Once you’ve chosen a calendar, we’ll show you a few extra options related to your Google calendar. Just save and reload the page to see them:
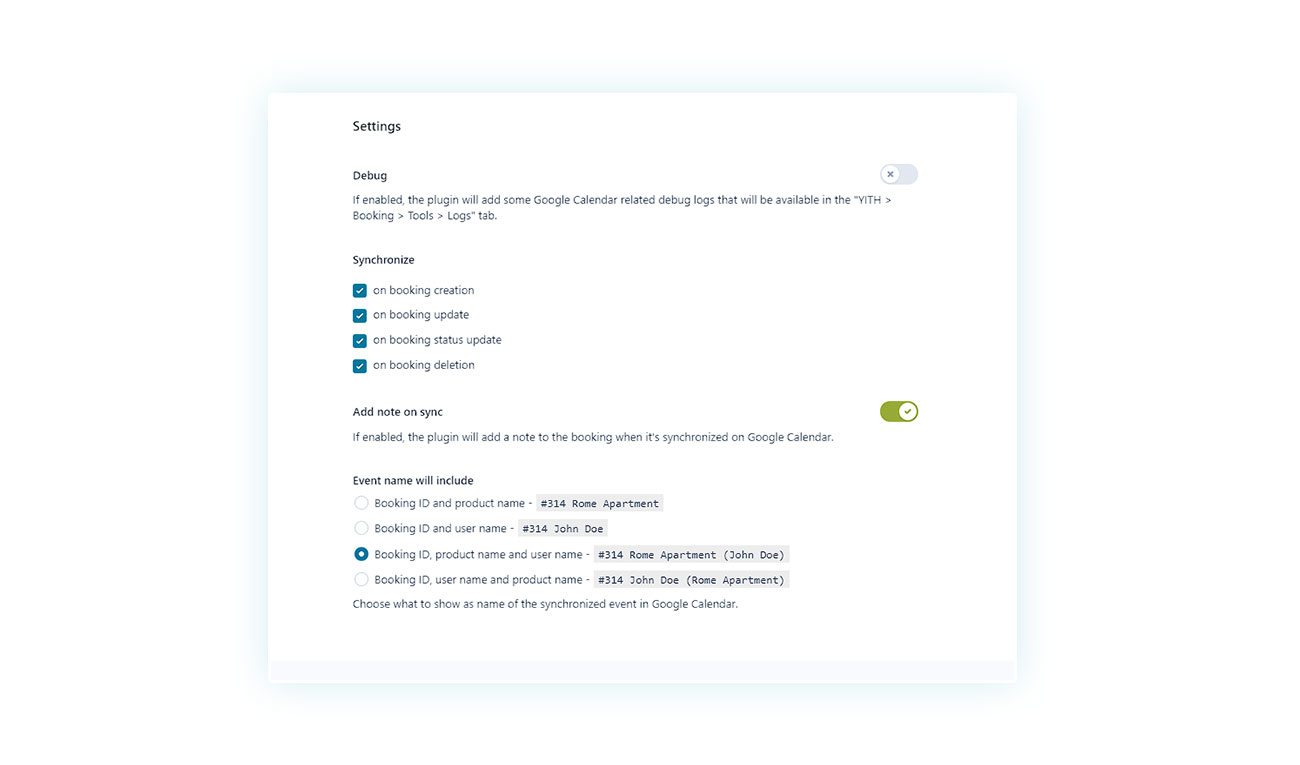
Here you can decide when Google bookings will be synchronized and what information to show.
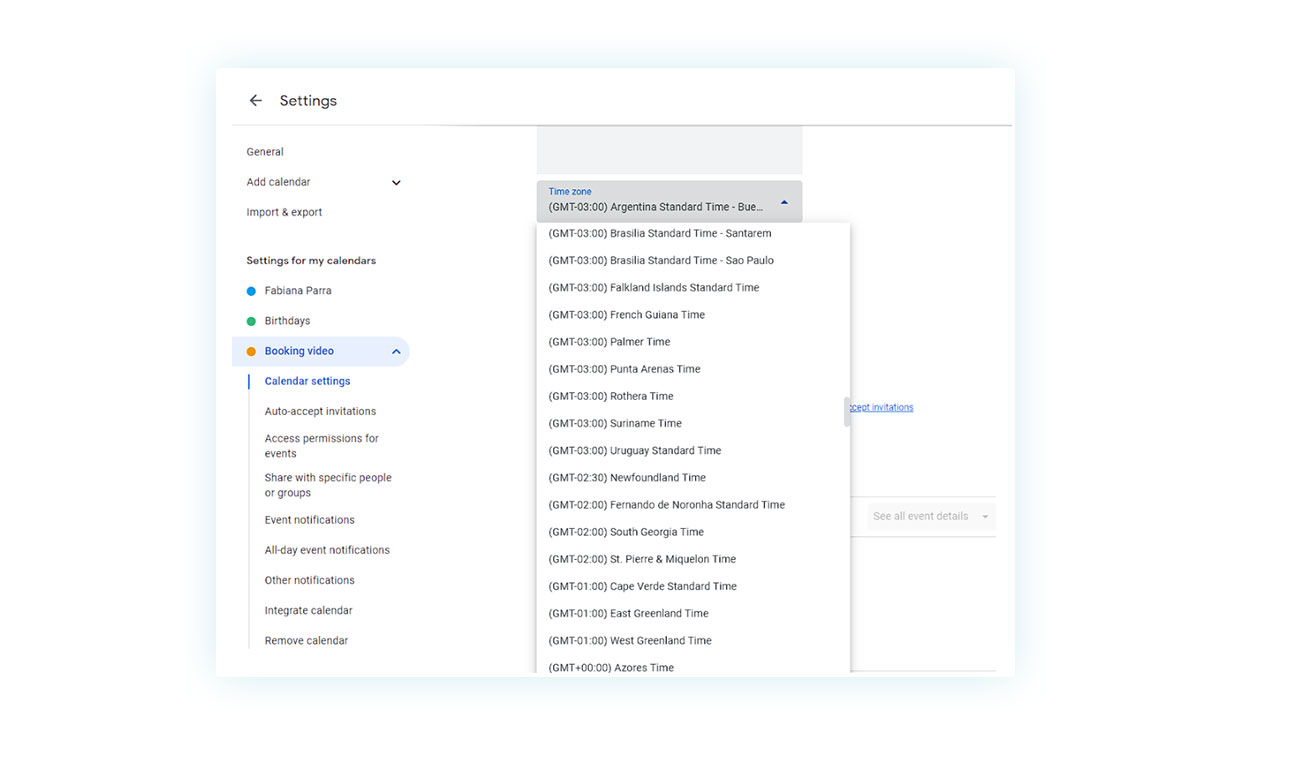
Final note: Be careful that both your site and Google Calendar use the same time zone, as suggested by the plugin itself:
Once you see the time zone used by WordPress, you can change the one in your calendar in the Google settings:
Conclusion
It’s important to have full control of your bookings, whether you’re a travel agency, tour operator, hotel, or car rental service. The process for synchronizing Google Calendar with YITH’s Booking plugin has many steps, but they’re simple.
By following the instructions we have offered, in video or other format, anyone can make this connection and have their reservations all in one place, easy to reference and follow.
Don’t wait any longer: give your business that extra edge by taking advantage of one of the most effective tools around!