If you have an e-commerce store and you want it to look professional and trustworthy, you can’t do it without offering:
- Clear and comprehensive sale conditions
- Secured and certified transactions
- Multiple Payment Methods in order to respond in a versatile way to any of your customer’s need
Despite the fact that WooCommerce sets Paypal as a default payment method, a number of surveys shows that only 14% of online buyers use it. 73% of the respondent customers would rather use a credit or debit card for online sales, especially if they’re buying from a trusted website and they have no concern using their personal data during the checkout.
This data proves that including the option of allowing customers to pay by credit/debit card is essential for your e-commerce store in order to improve the conversion rate and letting non-PayPal users make purchases from your store. (As we have seen, there are many of them: the number of people who own a credit card in the United States is higher then the whole PayPal worldwide user base.)
The benefits of using a credit card
Credit card payment is the most common method of payment in terms of convenience and availability, and it shouldn’t be underestimated. Here’s an example:
- Research shows that allowing credit card payment will improve your sales up to 23% thanks to how quick and easy it is to use this method.
- A 2009 research shows that 50% of the customers would not buy from online stores if they couldn’t use their favourite payment system, so your store better have all of them available.
In this tutorial we are going to see how to easily configure the credit card payment system in a WooCommerce based online store.
Required Plugins
Stripe Plugin Settings
Stripe is a plugin that allows you to use its namesake service in order to approve credit card payments directly from your website.
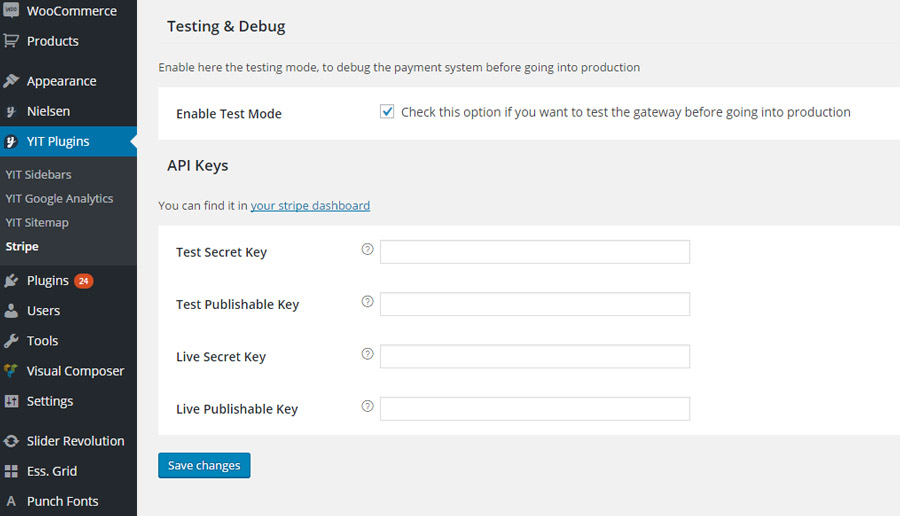
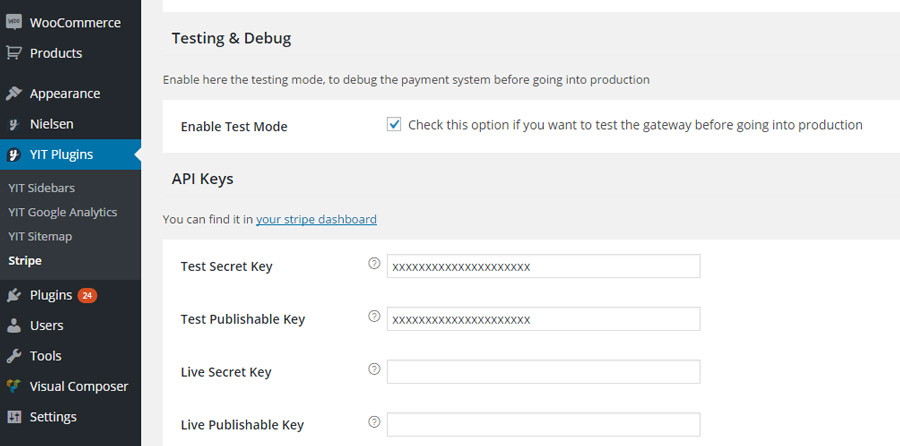
Once the plugin is installed and activated, you are going to need some API Keys, two couples of Publishade Key e Secret Key, which you will need for the test mode and the live one.
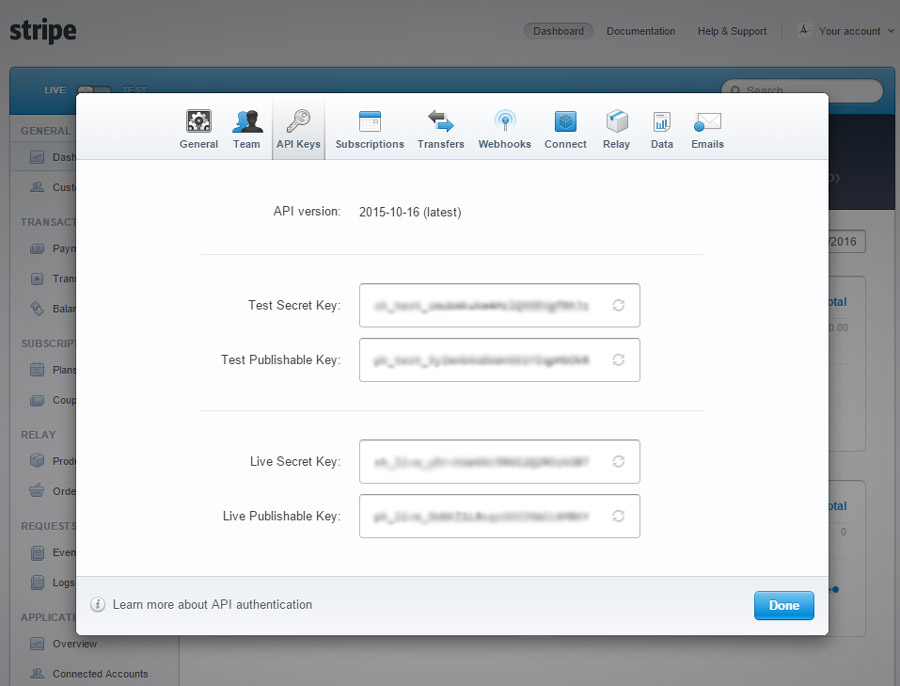
In case you don’t already own them, visit dashboard.stripe.com, register a new account, then click on “Account Settings”.
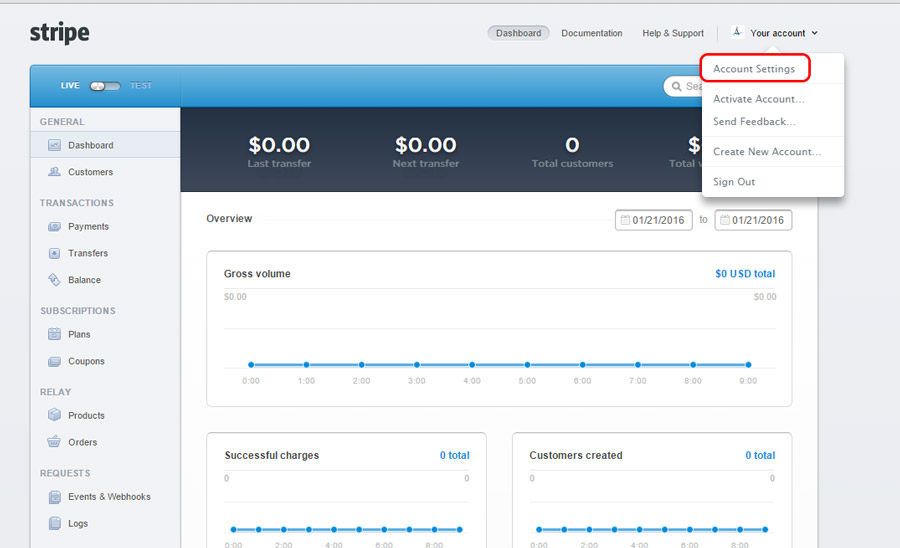
In the Api Keys section you will find the keys you need to add to the plugin.
Now you can enable Test Mode in order to test the payment system before it’s fully operative.
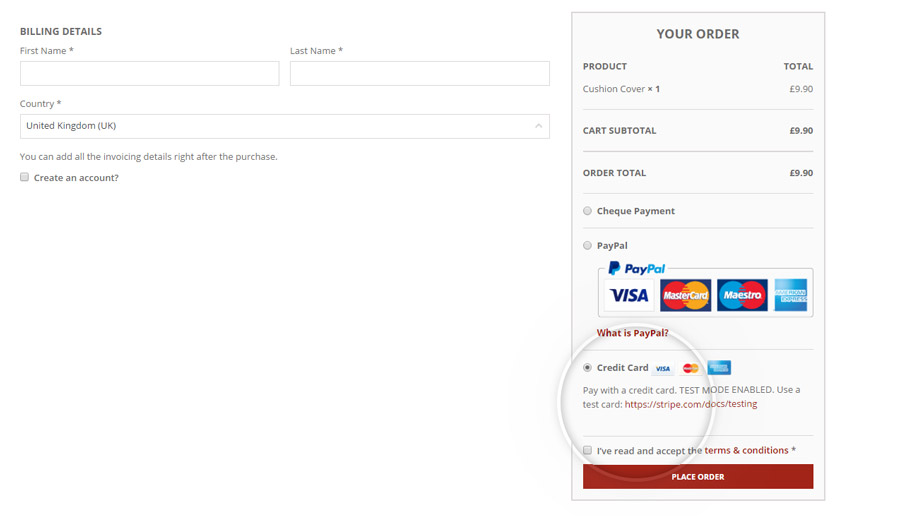
Once you’ve completed these simple steps, the credit card payment option will then appear on your store.
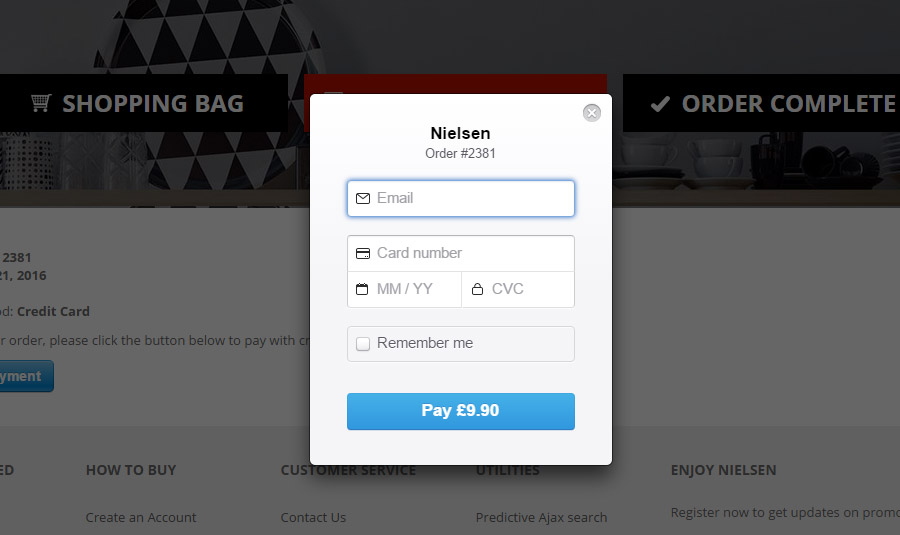
And when your customers select it, they will have the option to perform a quick payment by filling in this form:
This plugin also offers several other settings, including the option to save the credit card information, which prevents the customers from having to insert their personal data every time they want to buy from your store, or the option to pay by Bitcoin.
One of the most interesting aspects of this plugin is that the customer doesn’t need to leave your store to pay by credit card: the payment is quickly processed within the store itself.
Avoid fraudulent purchases
Once your customers are given the opportunity to pay by credit card your store could be exposed to fraudulent transactions made with unauthorized transactions or stolen credit cards.
In case of a credit card scam, the seller is the one who will take a loss, since a malevolent transaction can be disputed and the credit card owner will generally be refunded.
Both the customer and the seller have a right to be protected, though.
Let’s now see how to get protected from scams using the Anti-Fraud plugin.
Anti-Fraud plugin settings
The Anti-Fraud plugin will allow you to set a risk coefficient, it will monitor your transactions and ultimately interrupt them in case it detects suspicious behaviour.
You will get an email notification and you will be able to check on suspicious buyers by asking them specific questions to making sure everything is in order.
Let’s see how to setup this plugin.
Once it’s installed and activated, you are going to see this user interface:
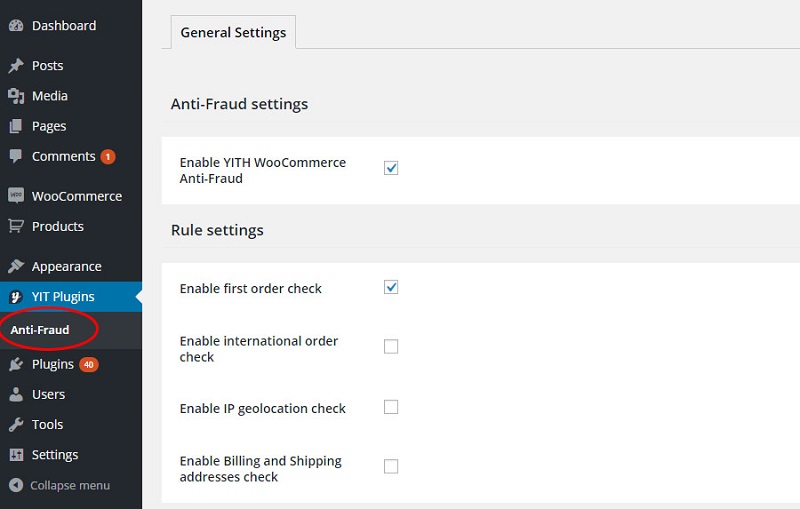
As you can see in the image above, you can select up to four different methods to detect the risk coefficient involved in a transaction:
- Enable first order check – Increases the coefficient for first time customers
- Enable international order check – Increases the coefficient in case the customer is located in a different country then the one the online store is in.
- Enable IP geolocation check – Increases the coefficient in case the customer’s IP is bound to a country other than the one specified in their billing address.
- Enable Billing and Shipping addresses check – Increases the coefficient in case the customer’s shipping address is different from their billing address.
According to your settings the coefficient could be:
- Low: if the percentage is below 25%
- Average: if the percentage is between 25% and 75%
- High: If the percentage is above 75%
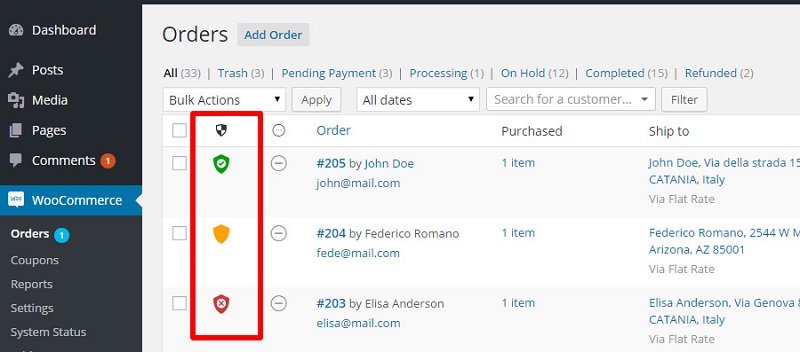
As you can see, the risk coefficient is connected to the list of orders.
Here you can analyze each and every order closely, check their risk coefficient and decide what’s the right action to take based on the percentage displayed.

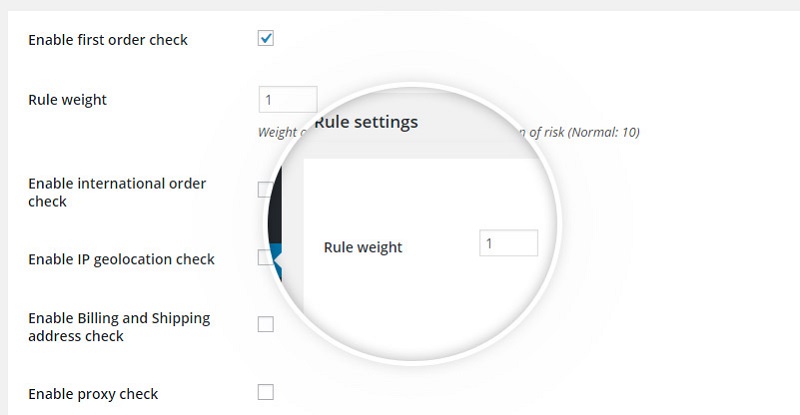
This plugin also offers other functions such as the chance to enable only selected security controls, creating a blacklist for selected email domains and assigning a given degree of relevance to specific control options.
And you’re set! Your customers can now shop in your store using their credit cards while your assets are safe from scams and fraudulent behaviour.