Welcome back to the last chapter of this guide on how to turn your online store into a perfectly functional online showcase for your car showroom.
In the first two articles, we have learned how to create a catalog that customers can use to view available models and request a quote for the vehicles of their choice. Once these functions are set up correctly, all that is left for us to do is improve our showroom to bring in more customers, keep them engaged and get them interested in buying one of our products.
There are different reasons for customers to abandon a website. Among other things, issues with navigating your website will drive customers away from you. If you don’t take care of this problem in time, you might lose many of the customers we worked hard to get during the first two parts of this series.
So, for this reason, let’s help our customers to reach their (and our) goals. In this article, we are going to see how to:
- Introduce a brand navigation system to highlight the manufacturing brand of each vehicle (which is essential for many products, especially for cars).
- Introduce filters to be used with customer searches according to different parameters (color, fuel, km, horsepower, etc.)
We are once more going to use two plugins to achieve these results.
How to add a search by brand function to WooCommerce
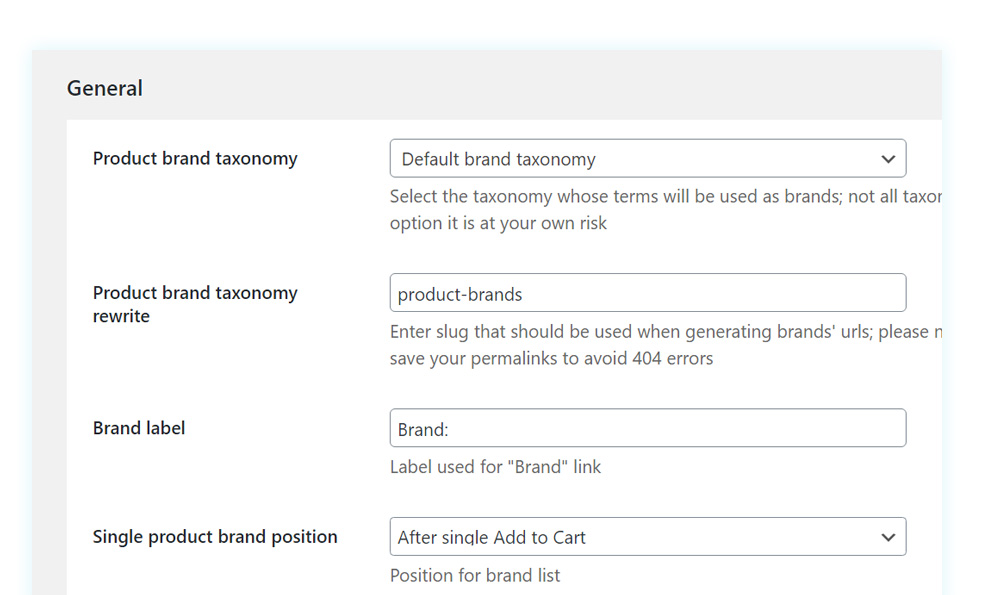
To add a search by the brand function, we will use the YITH WooCommerce Brands Add-on plugin. Once the plugin is installed and activated, we start and customize its options in Add-on > Settings:
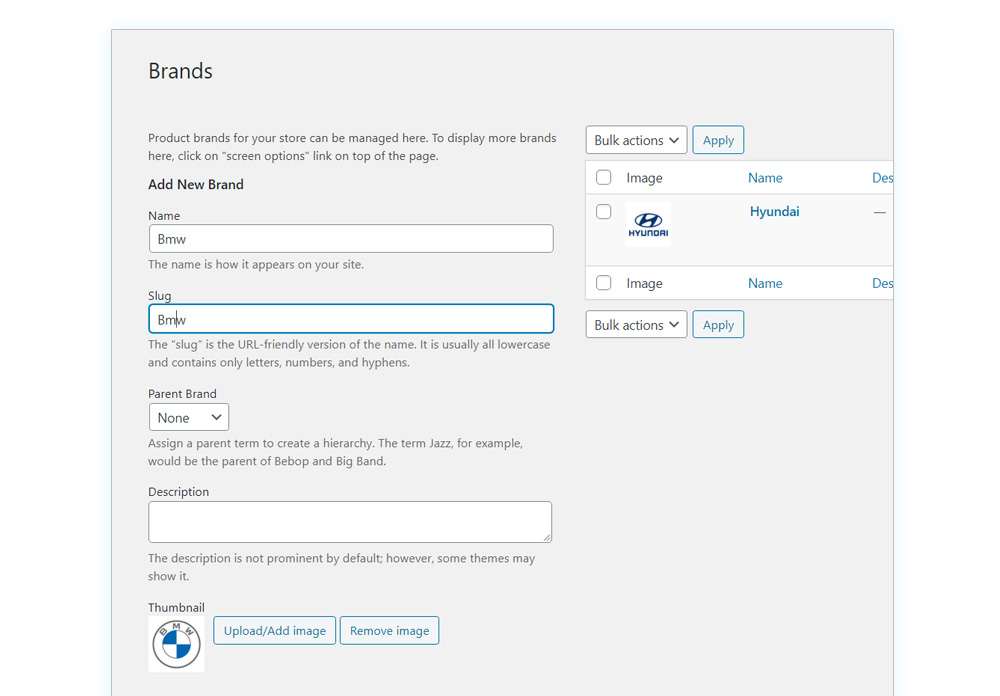
In order to create the “brand” attribute we wish to assign to our vehicles, let’s go to Products > Brands. We can assign a name, an image, and a description. In this case, I’m creating the BMW logo and upload its brand image.
Once created, we go to the product page and assign its corresponding brand. In case you haven’t created a brand yet, you can still do this one from this place:
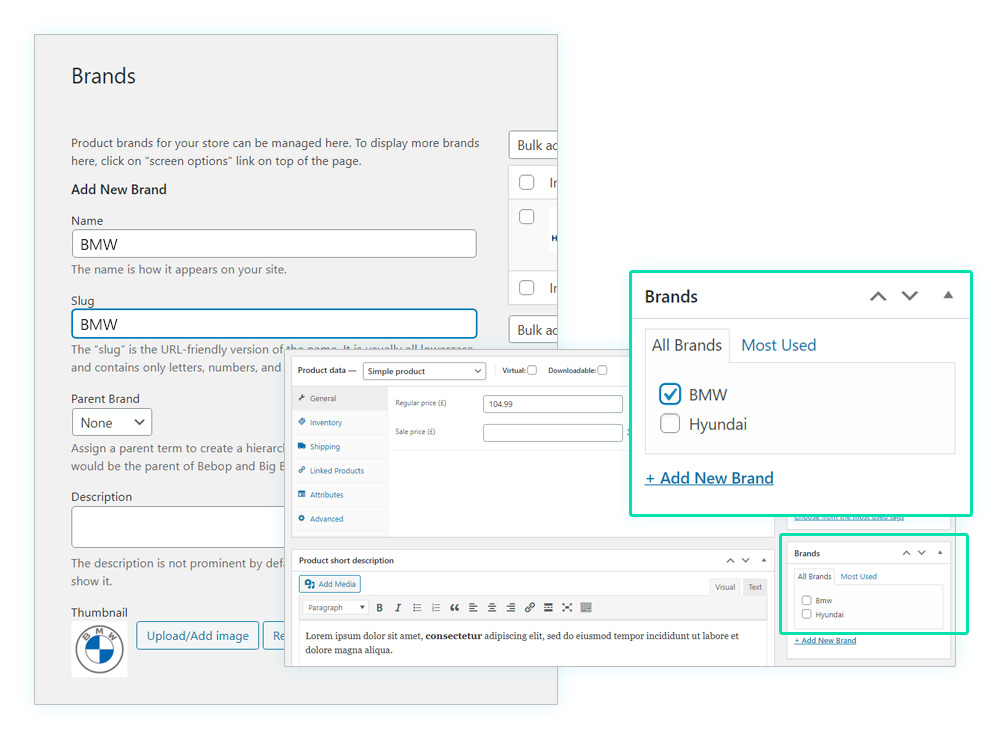
And this is how our vehicle is going to show up with the selected brand:
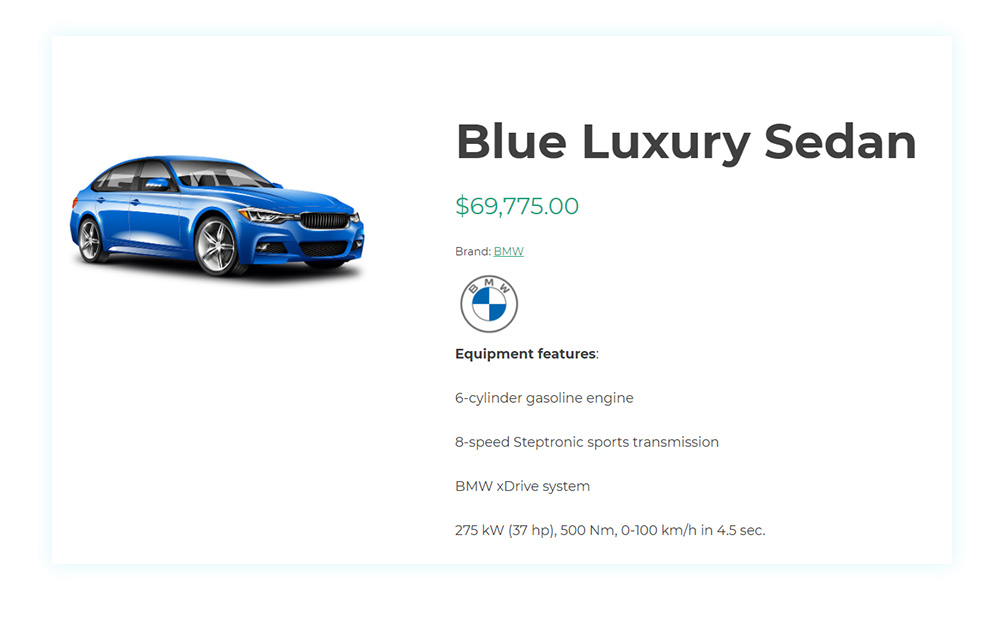
Brands are also going to be highlighted in the car catalog, which helps customers searching through the available cars:
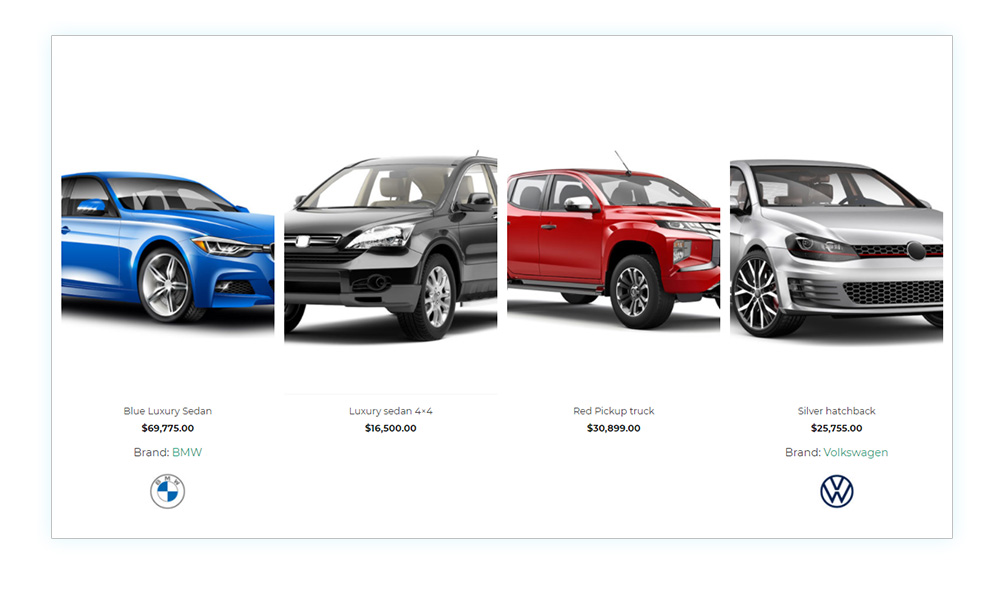
By doing this, customers will immediately see a brand and feel reassured by a recognizable name, which also guarantees the quality of the car your customers are interested in. And now that our showroom is complete, how can we make it even better?
How to filter products using Ajax with WooCommerce!
Imagine going to a car showroom: you are looking for a black car, but the salesperson keeps showing you vehicles of all colors. Maybe this also includes the car you are looking for, but having to choose from dozens of useless alternatives is just annoying.
The same goes for all other car details such as fuel type/consumption, seats, etc.
This can also happen in your online showroom, especially if you have many vehicles available. How can you guarantee your customers’ satisfaction and offer the best possible search experience? Well, simply by providing one or more filters.
We intend to offer a filter in the catalog that allows a direct and quick search for the car with the features we want. And to add this function to our catalog, we will use the YITH WooCommerce Ajax Product Filter plugin.
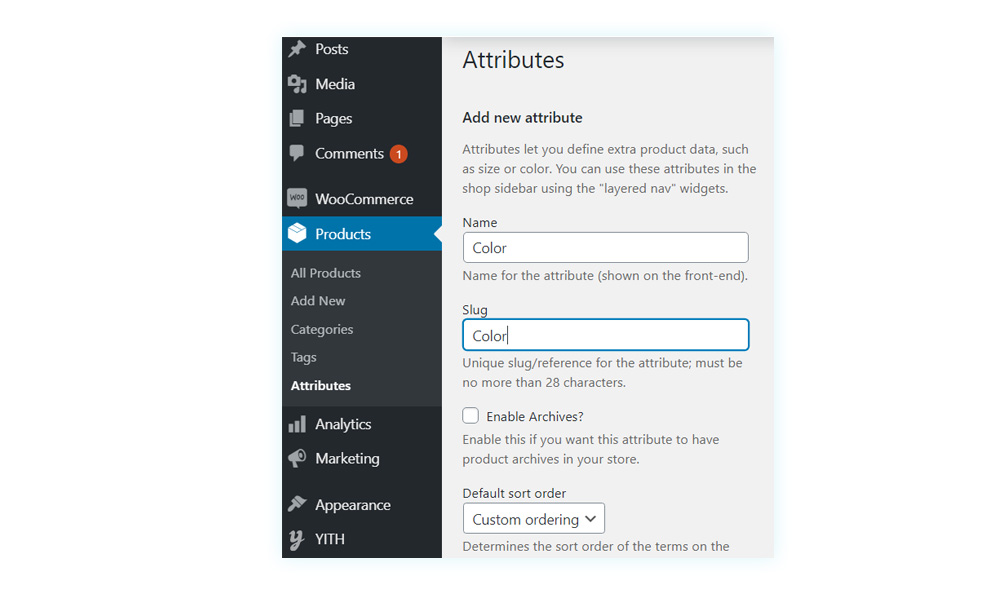
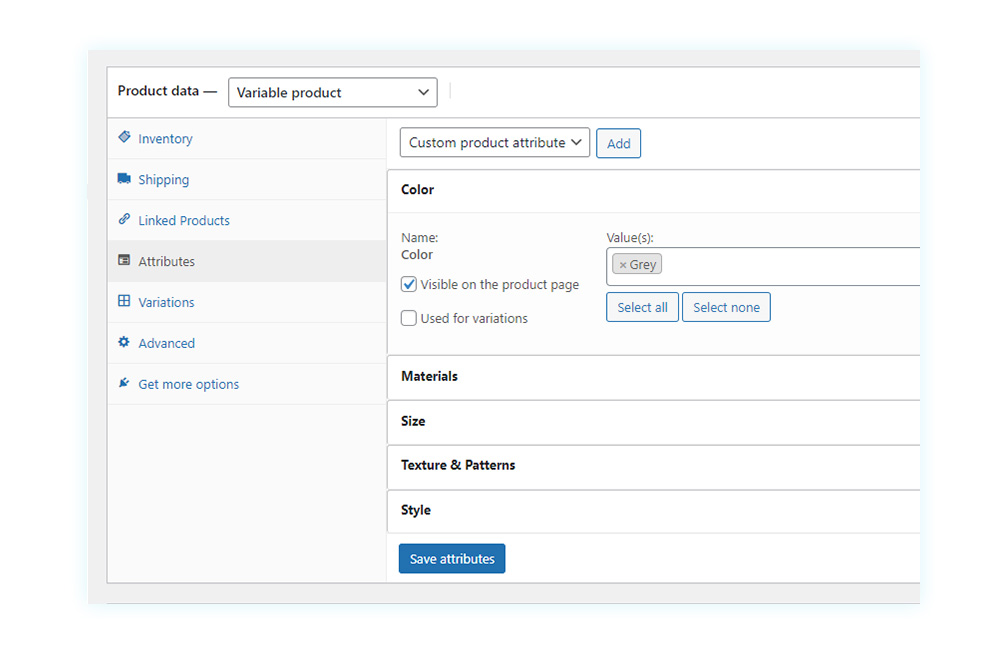
Once the plugin is installed and activated, we need to create all of the attributes that will be used to filter the searches in our catalog. To do this, let’s go to Products > Attributes. On this page, I’m going to create the color attribute, but the process is the same for any other attribute:
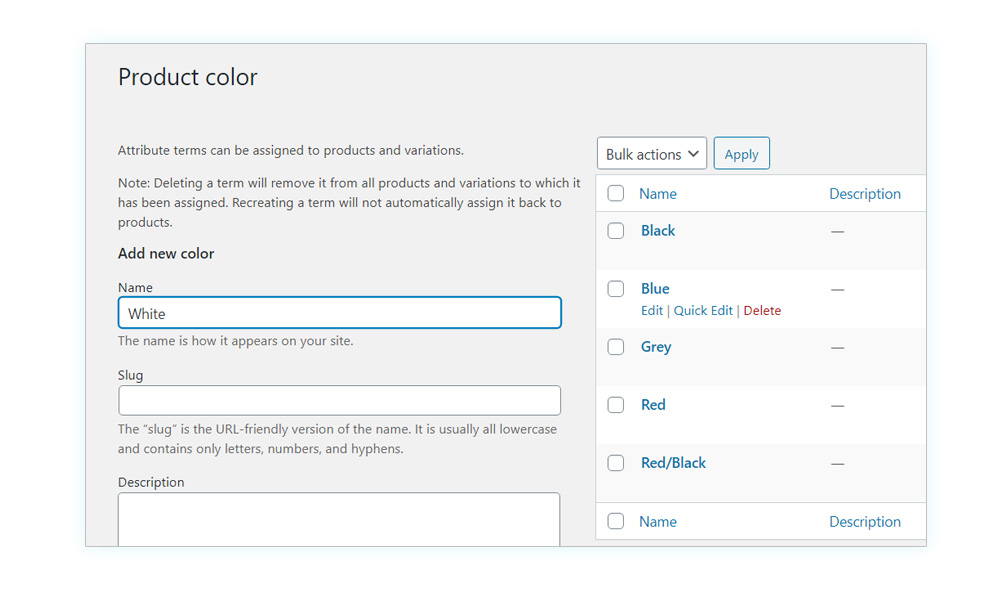
Once created, I need to add all of the elements that belong to a specific attribute. In this case, it’s the colors for the various models:
Now let’s link each vehicle to the attribute or set of attributes we have created. To do this, let’s go to the edit product page and set the attributes:
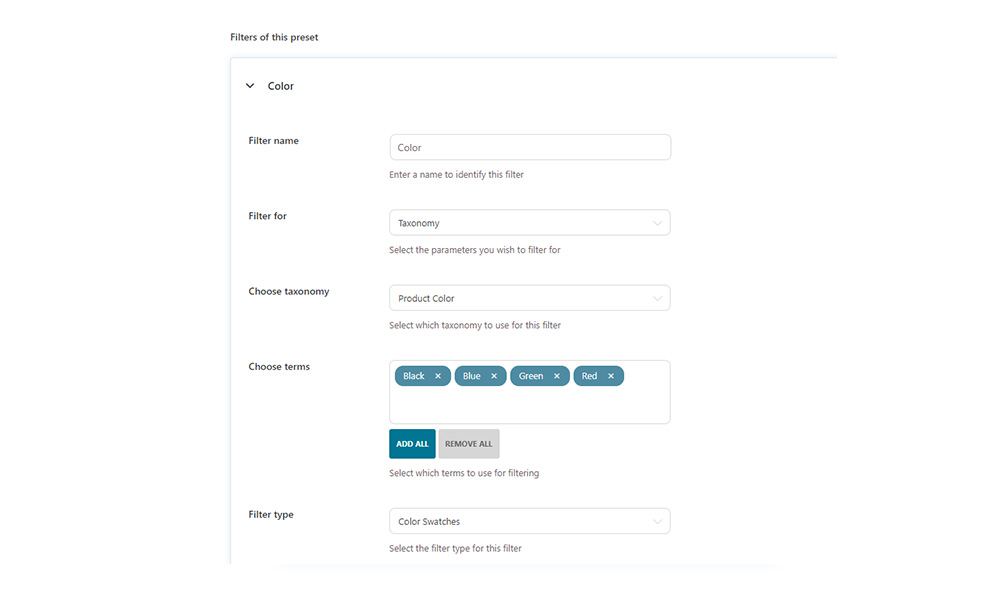
We have just assigned the attributes to all our products. Now we have to create the filter. In this example, a color filter. Before we add our first filter, we have to create a filter preset. You can think of these presets as collections of different filters. You will find them in AJAX Product filters ‘Filter Presets’ section. To start you can click on ‘Add preset‘.
When you do so, a series of options will open. Here you will have to add the preset’s name and add the filters you want. In our case, we will add a filter called “Color”, and continue by adding the following options: filter for, choose terms, filter type…
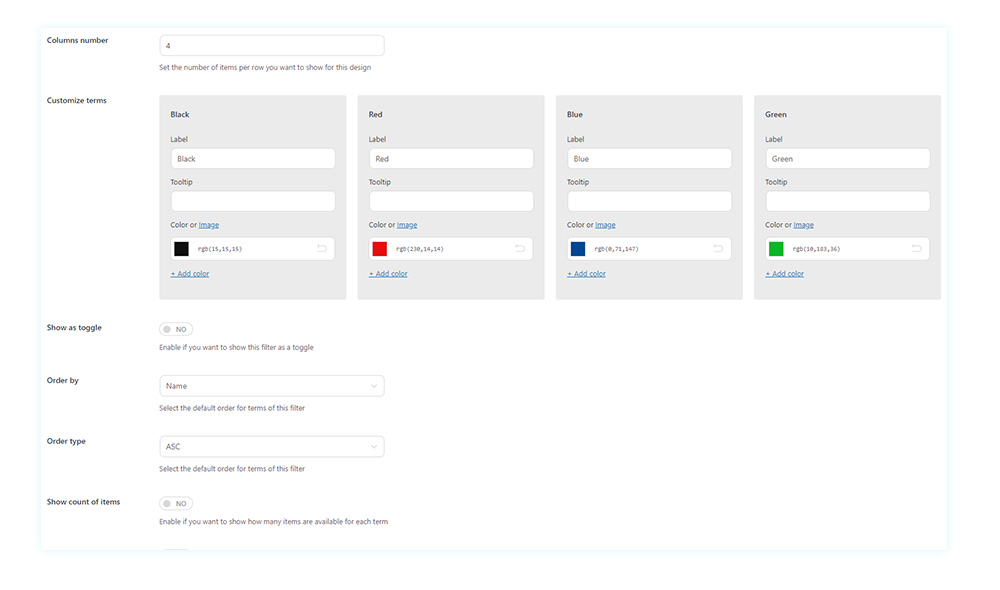
Among those options, you will find one called “Customize terms”. In that place, we will add the colors that we want to filter in our shop.
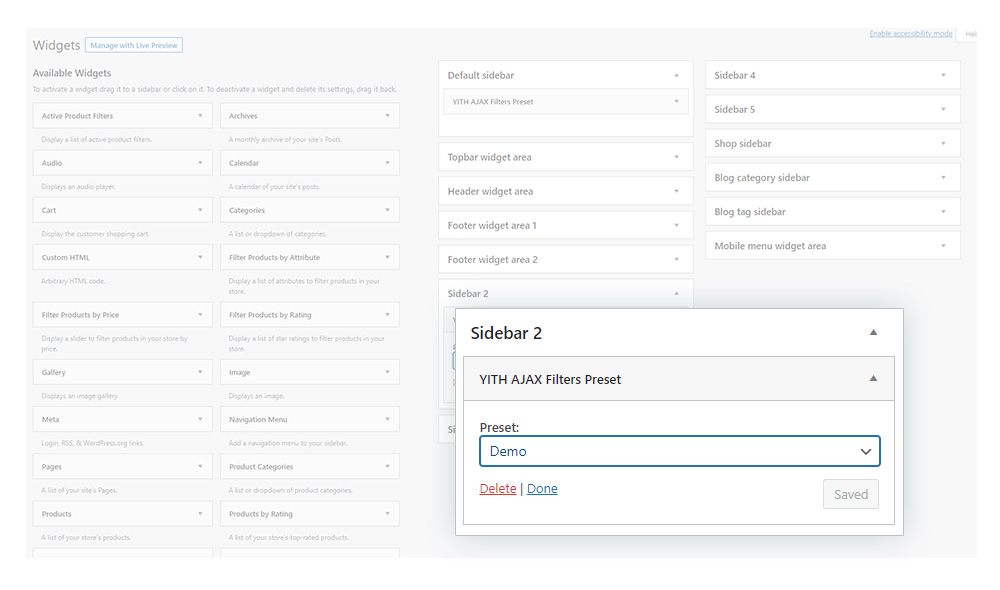
Once we finish configuring the filter, we save the filter and also the preset. But this is not the end of the configuration. Next, we will go to Appearance > Widgets and select the sidebar where we want to insert our widget, in this case, Sidebar 2. We will add the widget YITH AJAX Filters Preset and select the preset we want to display. In our case, it will be Demo.
Once created, this is what the filter is going to look like:
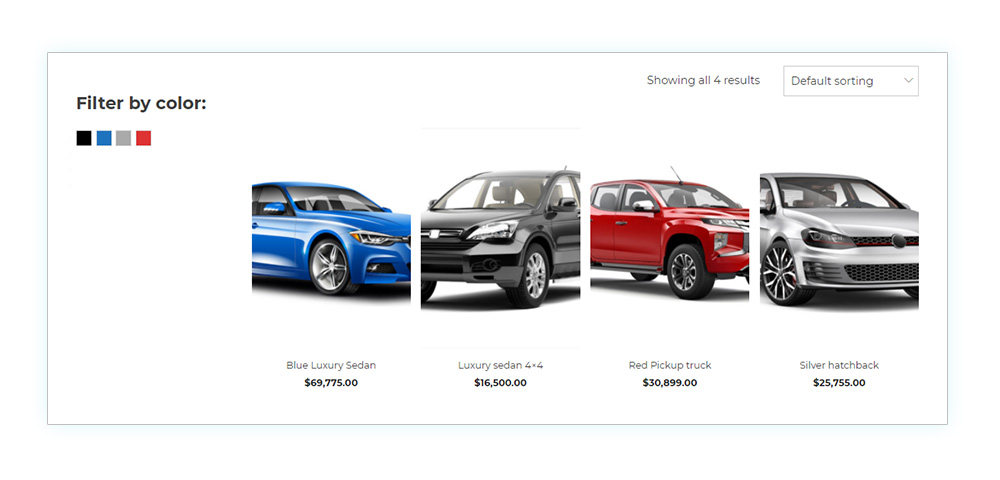
As you can see the color black is not displayed as there are no vehicles in that color, so you don’t have to worry about filters redirecting customers to blank pages.
And this last function concludes our guide for the creation of a perfectly functional online car showroom! Now you are ready to claim your place on the internet and boost your sales using WooCommerce!